1. Introduction
OMNIA, a truly Agile Low-Code Development Platform, welcomes you aboard to its continuous development process: the Developer Experience.
We do understand all the difficulties of build a business management application from the ground up. That’s why OMNIA takes the pledge to leverage and accelerate the entire development process, providing a simple, fast and responsive-by-default platform.
Now is the time to judge our premises. To that end, we’ve just created a simple and intuitive tutorial based on an Order Management example, guiding you throughout the short-time period of deploying all your inputs into a business application.
Start your exercise on OMNIA Low-Code Development Platform!
2. Prerequisites
This tutorial assumes that you have created a OMNIA tenant, and are logged in as a user with modeling privileges to this tenant.
If you do not have a tenant yet, please follow the steps of the Tenant Creation tutorial.
3. Modeling an application
-
Start by selecting the tenant where you are going to model and you will be redirected to the modeling area (if you only have one tenant, redirection will be automatic).
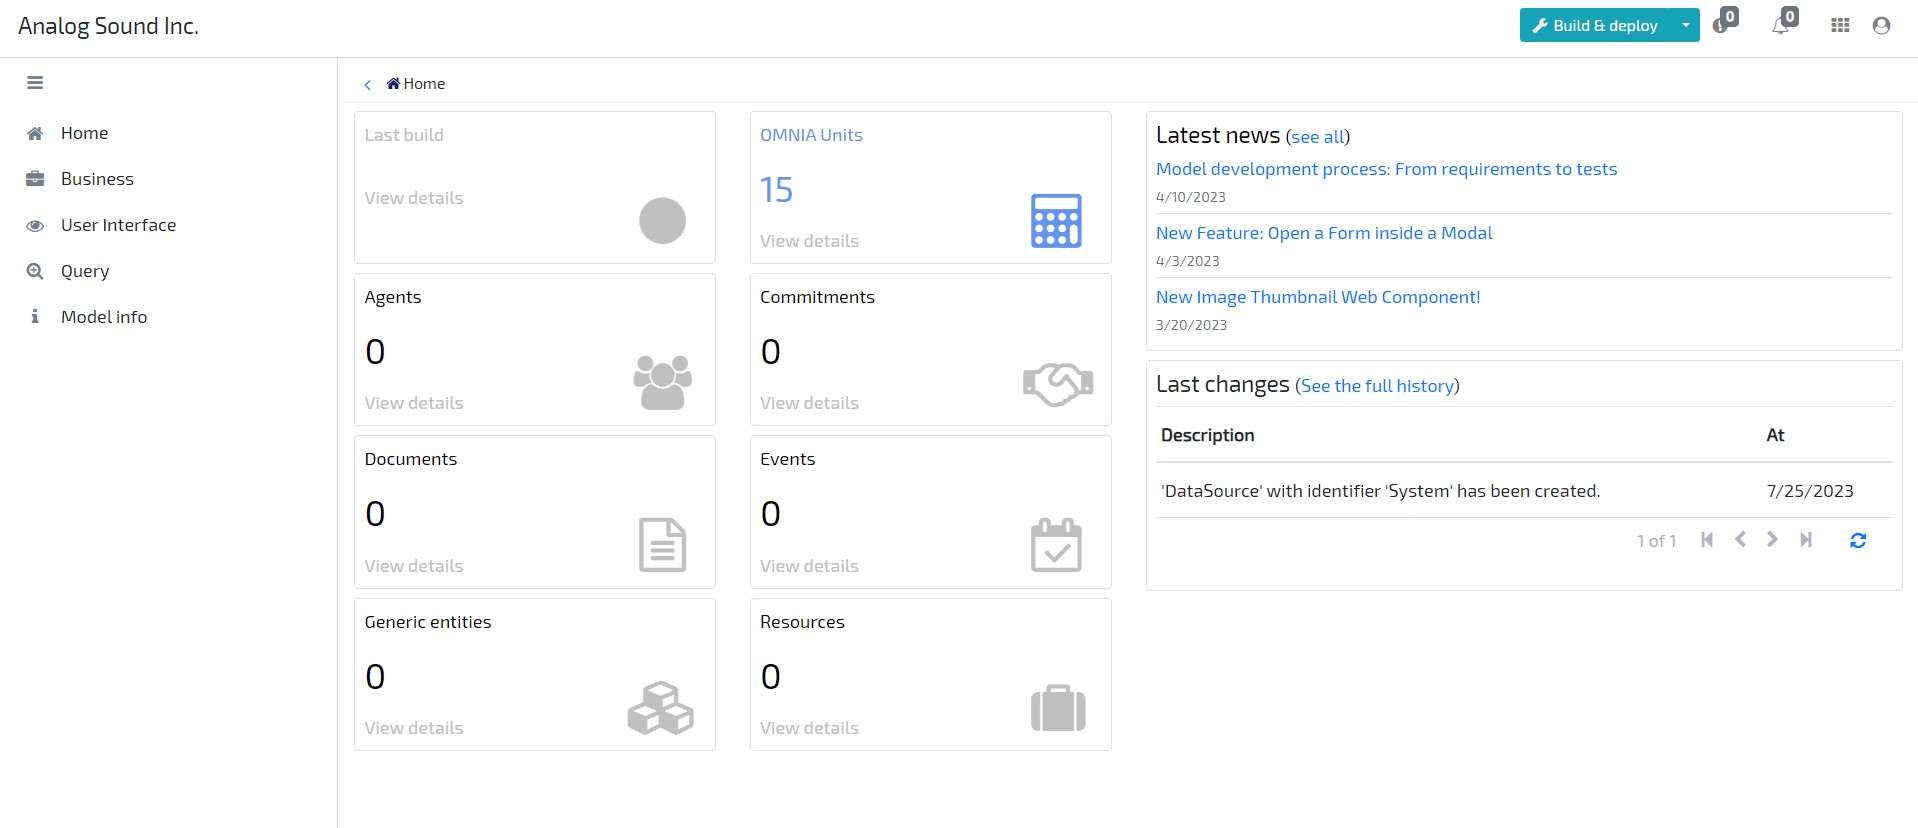
-
Through the left side menu, access the option Business / Agents and click on the top right side button Add new. Set its Name as Company.
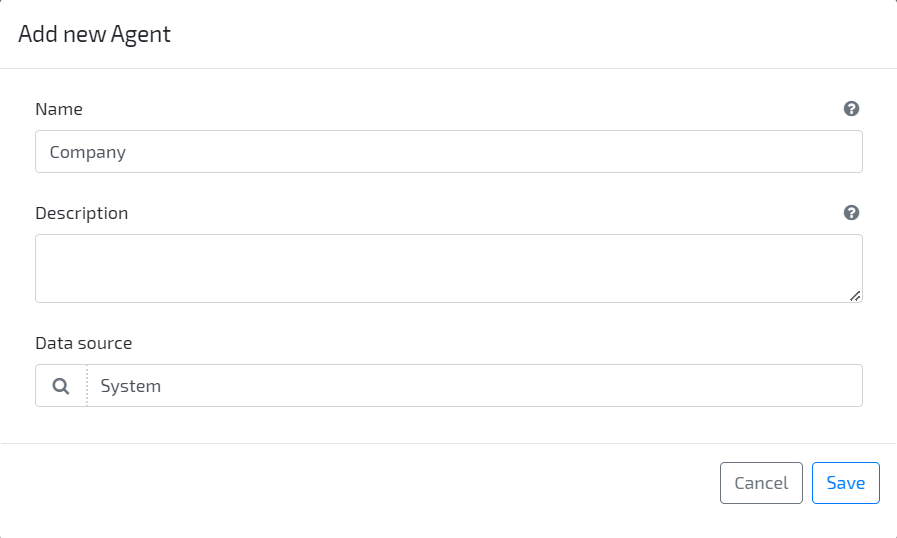
-
Return to the Agents list and click on button Add new to add a new Agent. Set its Name as Supplier.
-
Through the left side menu, access the option Business / Resources and click on the top right side button Add new. Set its Name as Product.
-
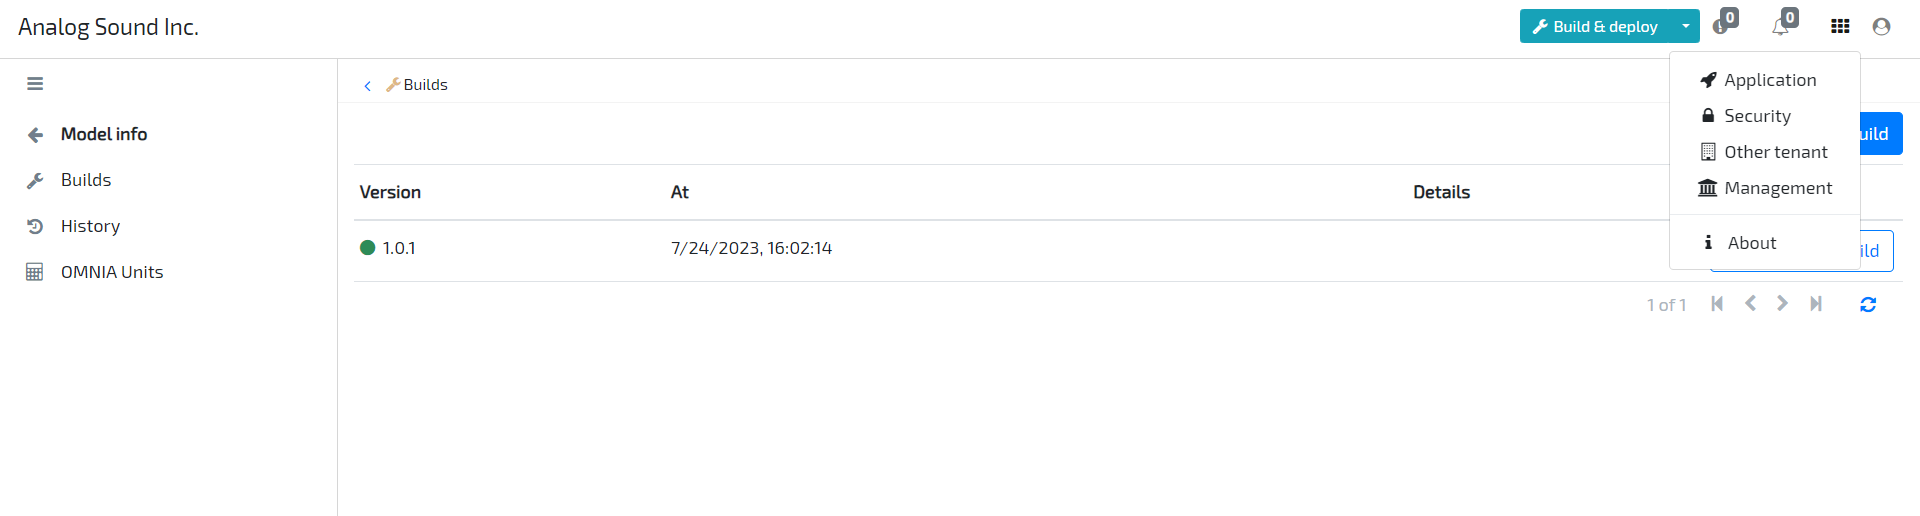
“Build & Deploy” your model (top right corner button of the modeling area).
-
On the right side of the top bar, click the options button and select the option Application (Refresh the page so you can see the option). You’ll be redirected to the application area.
-
Create a new Company, by selecting the option Configurations / Company and defining its Code and Name.
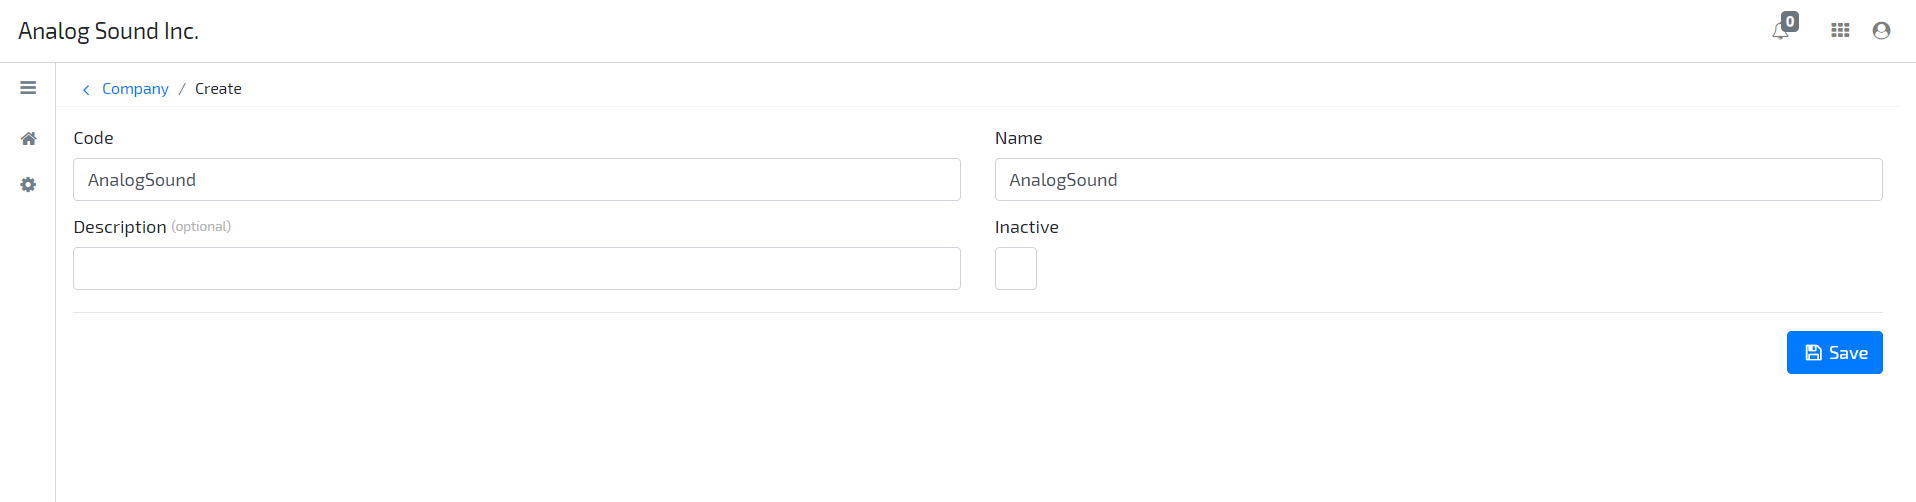
-
Follow the same process of the previous step to create a new Supplier and Product.
-
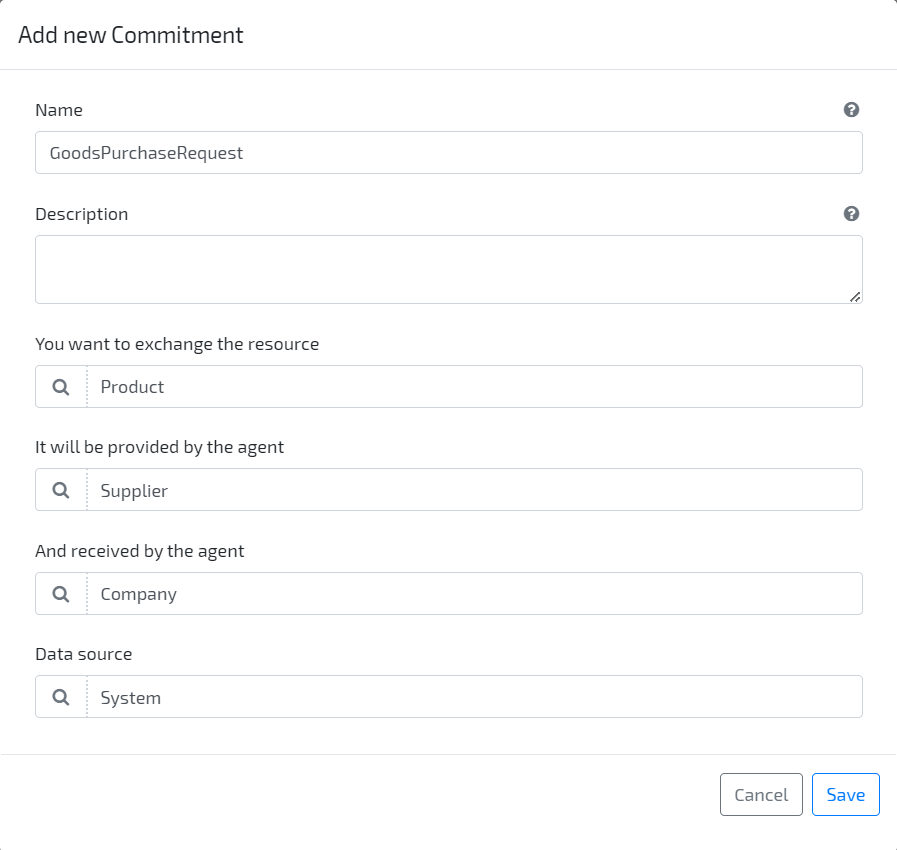
Go back to the modeling area (Modeler - top right corner) and create a new Commitment with Name set as GoodsPurchaseRequest, Product as the resource to be exchanged, Supplier as provider agent and Company as receiver agent.
-
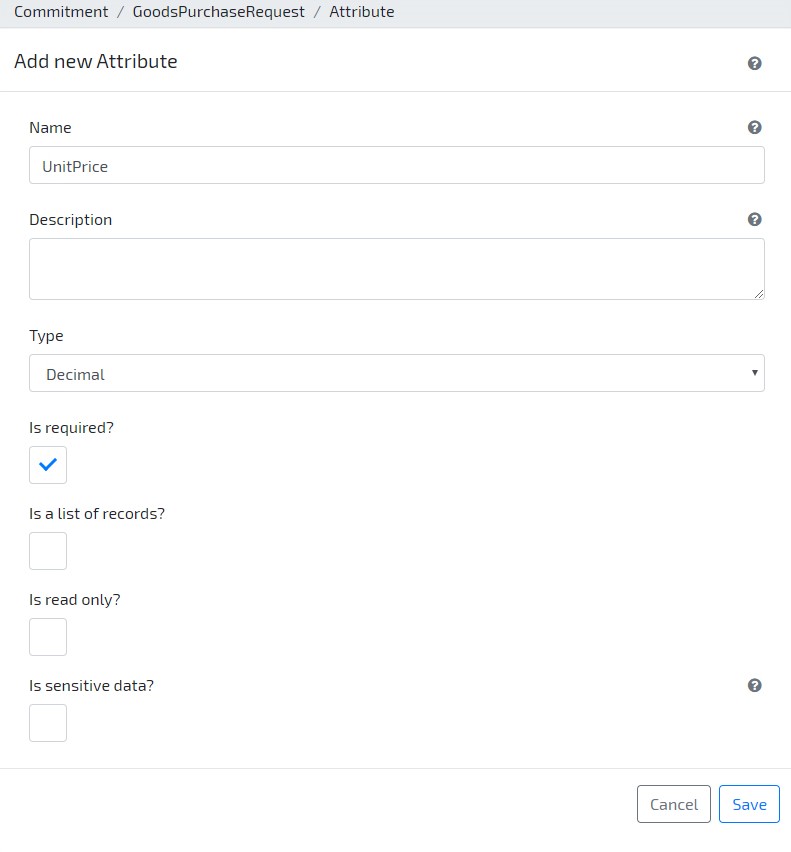
Add a new attribute (more info here) by clicking on button Add new / Primitive. Set its Name as UnitPrice, Type as Decimal, and as required by checking option Is required?.
-
Edit the attribute _amount, and check option Is read only?.
-
Click on tab Entity Behaviours and on button Add new > Formula. Set its Name as CalculateAmount, attribute as _amount and set as code to execute
return UnitPrice * _quantity;(this will set _amount to formula’s result). -
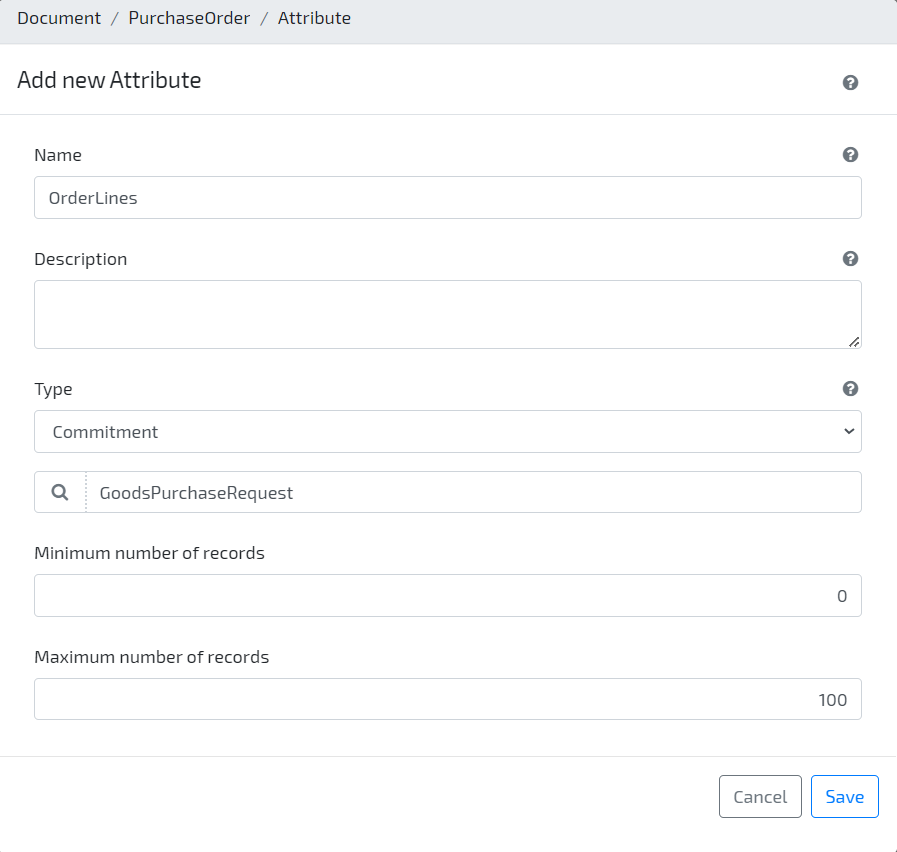
Add a new document by selecting option Business / Documents / Add new. Set PurchaseOrder, as the document’s Name;
-
Click on Attributes / Add new / Collection in Document. Set its Name as OrderLines, Type as Commitment > GoodsPurchaseRequest.
-
Build & Deploy model
-
Navigate to Application through the top bar menu and create a Serie for the document you’ve just created, by selecting the option Series / PurchaseOrderSeries -> Create New and filling in the input fields.
-
Click the menu arrow to see the main menu and create a new PurchaseOrder by selecting the option Documents / PurchaseOrder -> Create New and filling in the needed fields.
-
After saving your new document, go back to modeling area (by accessing top bar menu option Modeler) and edit the PurchaseOrder document to simplify the introduction of new Purchase Orders. Add a new attribute by clicking the button Add new / Reference. Set its Name as Company, Type as Agent / Company, and as required by checking option Is required?.
-
Add Attribute / Add new / Reference. Set its Name as Supplier, Type as Agent / Supplier, and as required by checking option “Is required?”.
-
Navigate to tab Entity Behaviours and click the button Add new / After Change to add a new After Change Behaviour to fill _provider and _receiver attributes. Define SetCommitmentAgents as Name and paste the following code:
OrderLines.ForEach(line => { line._provider = Supplier; line._receiver = Company; }); -
Go to your PurchaseOrder Document form by accessing the menu option User Interface / Forms and edit the PurchaseOrderForm. Reorganize the attributes to simplify the interface (click on a element to edit/remove it or press and hold to drag and drop it). Remove the elements Provider, Receiver and Code from OrderLines element. At last, remove Code element UI from Document.
-
Reorganize Rows and Columns, re-establishing the size and position of their elements:
- Serie: Row 1, Column 1 and Size 4;
- Number: Row 1, Column 5 and Size 4;
- Date: Row 1, Column 9 and Size 4;
- Company: Row 2, Column 1 and Size 4;
- Supplier: Row 2, Column 5 and Size 4.
-
Build & Deploy model
-
Go to application and validate interface changes by creating a new PurchaseOrder document. The interface should be equal to the one below:
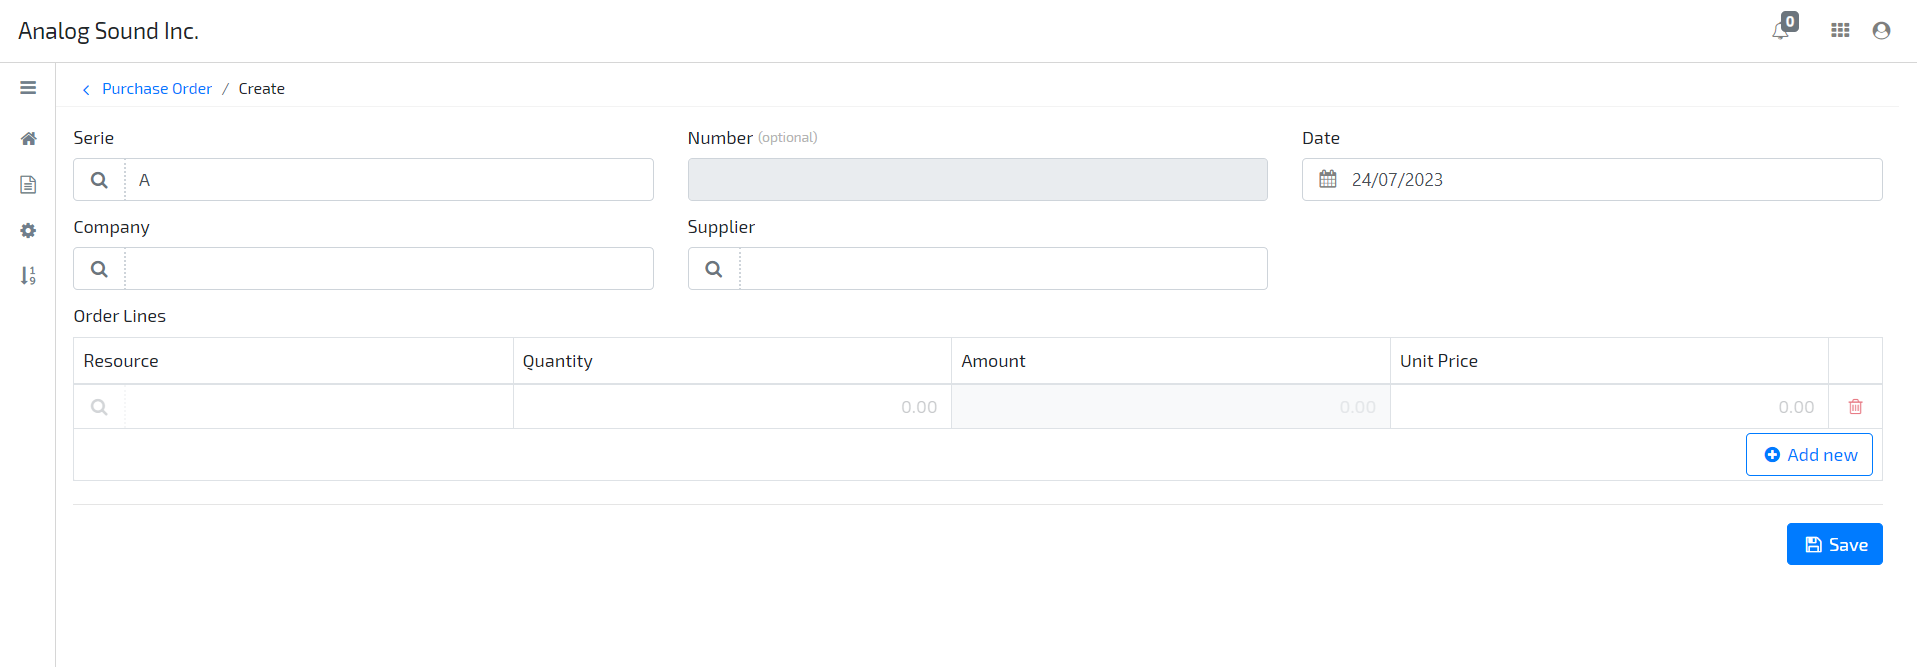
Congratulations on completing your first steps with the OMNIA Low-Code Development Platform and welcome to the world of development agility! Now, it’s time to move to our next challenge: OMNIA’s Platform Advanced Tutorial.