1. Introduction
Based on a Purchase Orders management scenario, this tutorial shows a real scenario of how easily OMNIA can combine information from multiple external data sources, using the OMNIA connector to access data located on-premises.
This tutorial is an advanced implementation of the data sources tutorial in order to understand how data sources work, please read this section of the documentation.
The tutorial is divided in 4 different areas. On the first area, Create a new connector, we are going to check how a new connector is created and associated to a tenant. Next, on Modeling entities area, we are going to evaluate how to model the core entities for this solution from scratch. On the third area, we are going to focus on Purchase Order modeling, combining all previously modeled entities and integrating information on ERP Primavera. To end, we will evaluate how to communicate with an external API.
As our custom data source, we are going to use the PRIMAVERA ERP V10. The chosen external API is Last FM, which provides data related to music.
2. Prerequisites
This tutorial assumes that you have created a OMNIA tenant (click here to see how), and are logged in as a user with modeling privileges to this tenant. You must also have access to the management area to manage the connectors.
This tutorial also requires an access to Primavera ERP, on version 10.
3. Create a new connector
-
Start by accessing the management area, by clicking the option “Go to Tenants management”.
-
Through the left side menu, create a new connector by accessing the option Connectors / Add new. Set its Code and Name as “AnalogSoundConnector”.
Right after creating the connector, a modal with its data should be shown. Copy the Client Username, Client ID and Client Secret to use later when configuring the Connector.
-
Now we are going to grant the connector access privileges for the tenant. Access the option Security / Roles, and select Administration role for the tenant (composed by the tenant code with prefix “Administration”. E.g. AdministrationDemoTenant)
-
Click the button Add new to grant the connector user access to the tenant. The user can be retrieved on step 2, property “Client Username”. If you didn’t copy the username in that moment, select the connector on the list to access that information.
-
Now use these configurations to configure a connector in the machine with the Primavera ERP, following the installation guide and configuration guide.
-
Start the configured connector.
4. Modeling Entities
-
Access OMNIA homepage, select the tenant where you are going to model and you will be redirected to the modeling area.
-
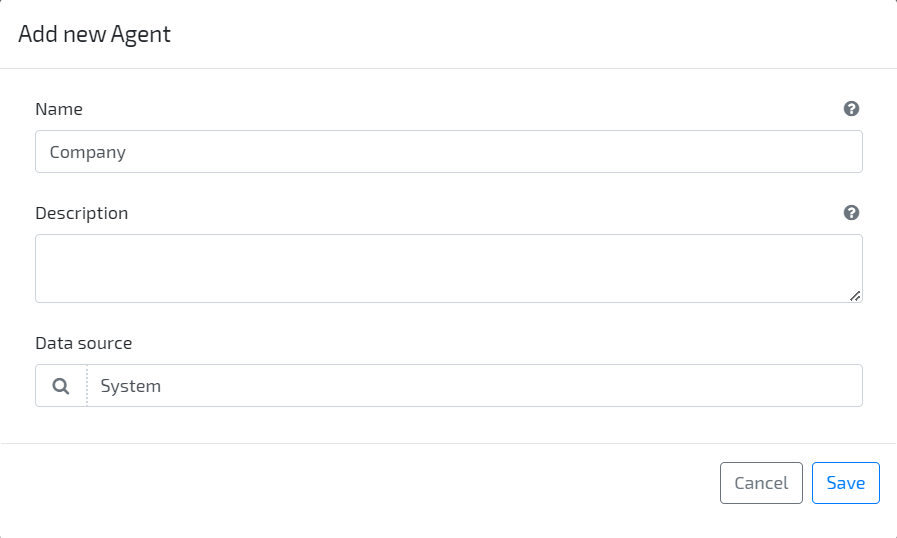
Through the left side menu, create a new Agent by accessing the option Business / Agents and clicking the Add new button on the top right side. Set “Company” as the Agent name.
-
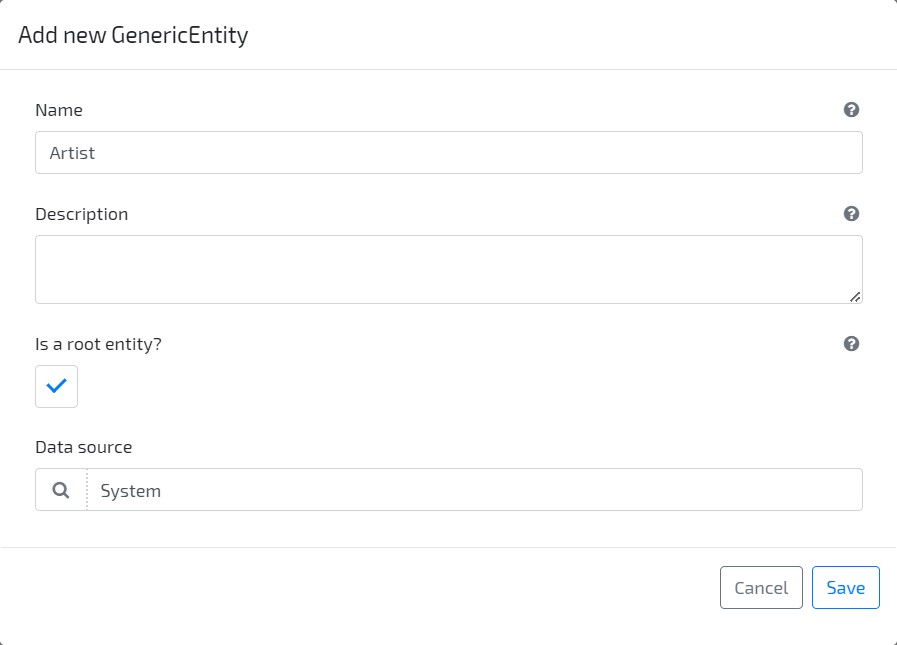
Through the left side menu, create a new Generic Entity by accessing the option Business / Generic Entities. Set “Artist” as its name.
-
Build & Deploy model
-
Go to application area and create a new Company (by accessing the option Configurations / Company / Create new)
-
Create a new Artist
-
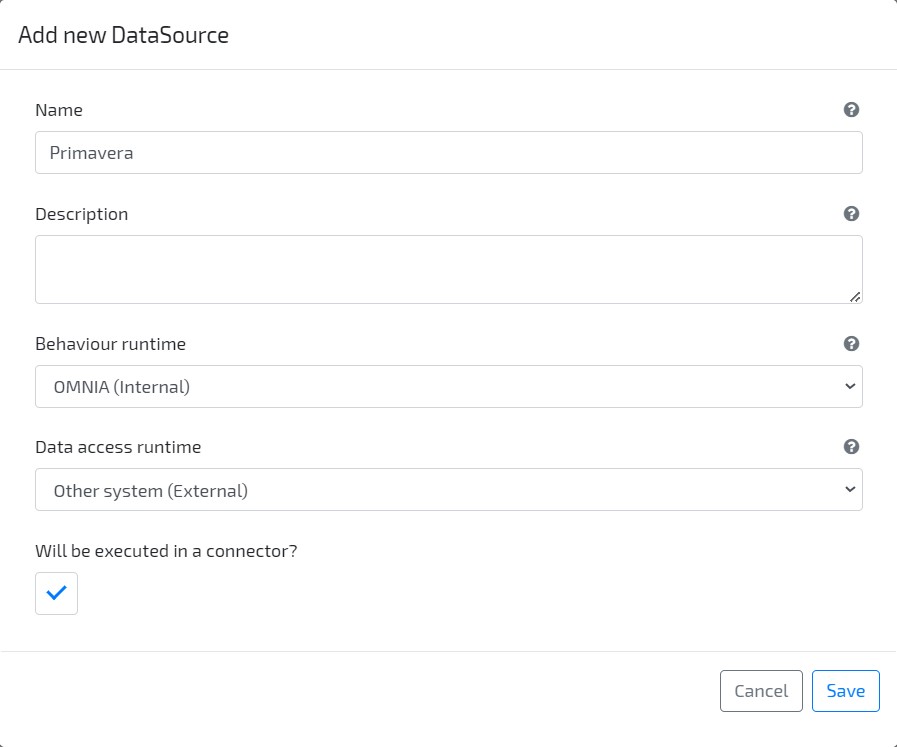
Go to modeling area, and through the left side menu, create a new Data Source by accessing the option Business / Data Sources and clicking the Add new button on the top right side. Set its Name as “Primavera”, Behaviour Runtime as “Internal” and Data Access Runtime as “External”. Check the flag “Will be executed in a connector?”
-
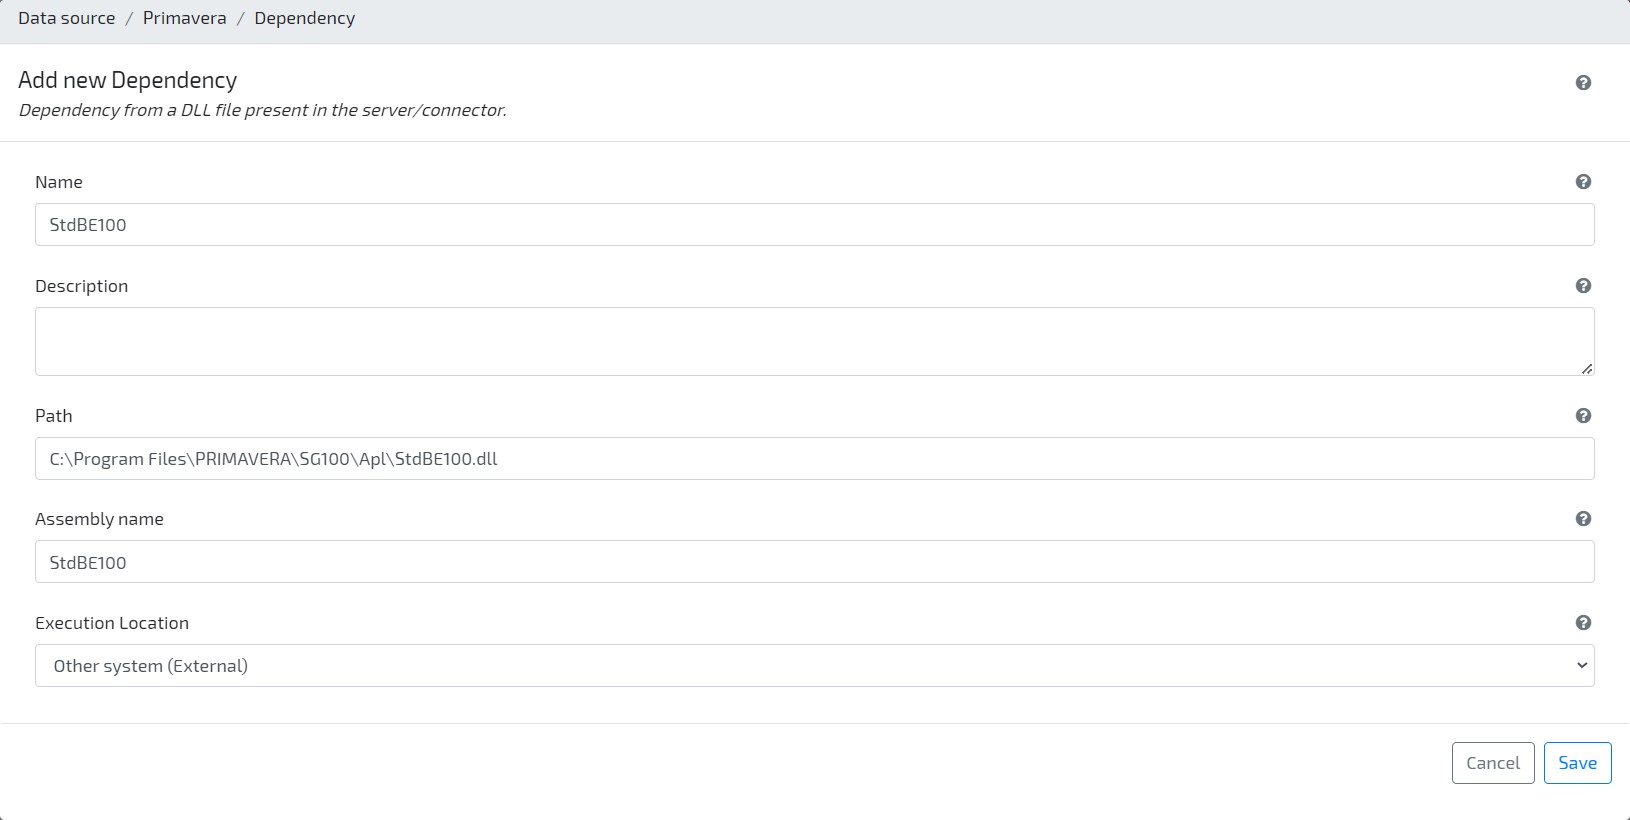
Navigate to tab Behaviour Dependencies, and create a File Dependency for each of the following Primavera assemblies:
- StdBE100.dll
- ErpBS100.dll
- IBasBS100.dll
- BasBE100.dll
- ICmpBS100.dll
- CmpBE100.dll
-
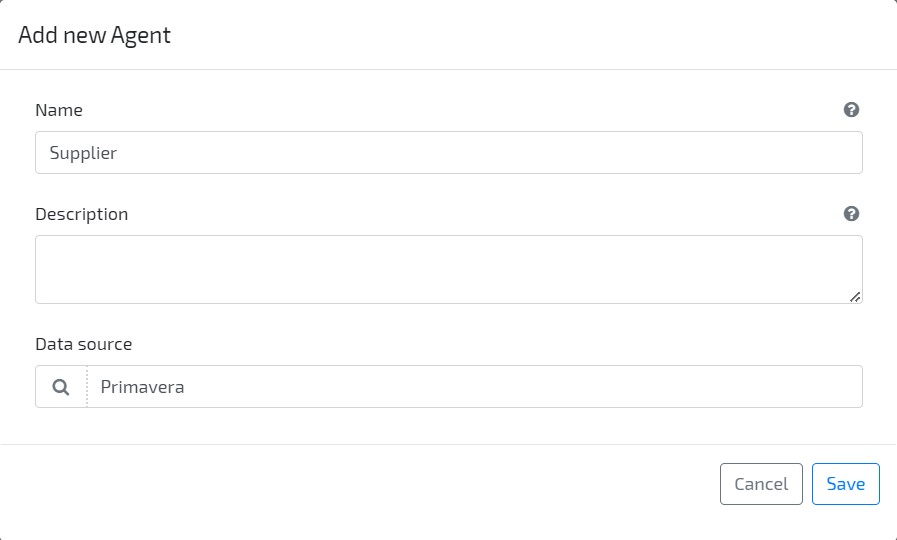
Create a new Agent with name “Supplier”, and set it as using the external data source “Primavera” that you created earlier.
-
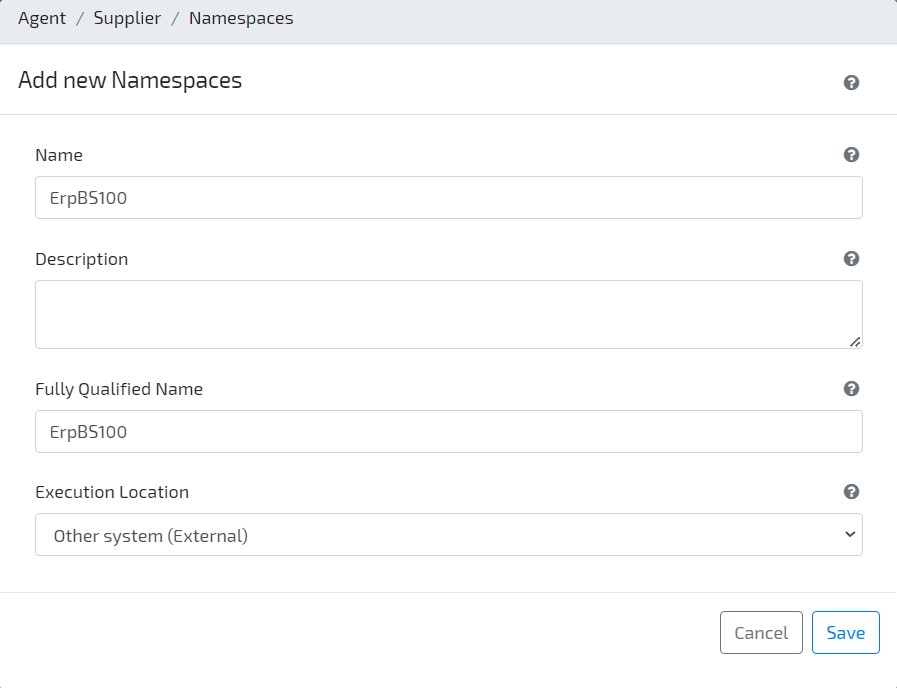
On Agent “Supplier”, navigate to tab Behaviour Namespaces, and define a reference for the following namespaces:
- StdBE100
- ErpBS100
- BasBE100
-
Navigate to tab “Data Behaviours“, and add a code expression to the “ReadList” behaviour. This behaviour will be used for Query and List requests for this entity.
Copy and paste the following code (Remember to change the
"username"and"password"fields to your actual username and password.):ErpBS bsERP = new ErpBS(); try { List<IDictionary<string, object>> suppliersList = new List<IDictionary<string, object>>(); string username = ""; string password = ""; bsERP.AbreEmpresaTrabalho(StdBETipos.EnumTipoPlataforma.tpEmpresarial, "DEMO", username, password); StdBELista queryResults = bsERP.Consulta($"SELECT Suppliers.SuppliersCount, Fornecedor, Nome from Fornecedores CROSS JOIN (SELECT Count(*) AS SuppliersCount FROM Fornecedores) AS Suppliers ORDER BY Fornecedor ASC OFFSET {(page - 1)*pageSize} ROWS FETCH NEXT {pageSize} ROWS ONLY"); int numberOfRecords = Convert.ToInt32(queryResults.Valor("SuppliersCount").ToString()); while (!queryResults.NoFim()) { var supplier = new Dictionary<string, object>() { { "_code", queryResults.Valor("Fornecedor").ToString()}, { "_name", queryResults.Valor("Nome").ToString()} }; suppliersList.Add(supplier); queryResults.Seguinte(); } return (numberOfRecords, suppliersList); } catch (Exception e) { Console.WriteLine(e.Message); throw; } finally { if (bsERP.Contexto.EmpresaAberta) bsERP.FechaEmpresaTrabalho(); } -
Set the code expression for the “Read” Data Behaviour, so that data is retrieved when a Primavera Supplier is edited on OMNIA.
Copy and paste the following code (Remember to change the “username” and “password” fields to your actual username and password.):
SupplierDto dto = new SupplierDto(); ErpBS bsERP = new ErpBS(); try { string username = ""; string password = ""; bsERP.AbreEmpresaTrabalho(StdBETipos.EnumTipoPlataforma.tpEmpresarial, "DEMO", username, password); StdBELista queryResults = bsERP.Consulta($"SELECT Fornecedor, Nome FROM Fornecedores WHERE Fornecedor = '{identifier}'"); if (!queryResults.Vazia()) { dto._code = queryResults.Valor("Fornecedor").ToString(); dto._name = queryResults.Valor("Nome").ToString(); } else { throw new Exception($"Could not retrieve Supplier with code '{identifier}'"); } return dto; } catch (Exception e) { Console.WriteLine(e.Message); throw; } finally { if (bsERP.Contexto.EmpresaAberta) bsERP.FechaEmpresaTrabalho(); } -
Set the code expression for the “Create” Data Behaviour, so that a new Supplier is created on Primavera ERP when it is created on OMNIA.
Copy and paste the following code (Remember to change the “username” and “password” fields to your actual username and password.):
ErpBS bsERP = new ErpBS(); try { string username = ""; string password = ""; bsERP.AbreEmpresaTrabalho(StdBETipos.EnumTipoPlataforma.tpEmpresarial, "DEMO", username, password); BasBEFornecedor fornecedor = new BasBEFornecedor { Fornecedor = dto._code, Nome = dto._name, Moeda = "EUR", NumContribuinte = "999999990" }; bsERP.Base.Fornecedores.Actualiza(fornecedor); return dto; } catch (Exception e) { Console.WriteLine(e.Message); throw; } finally { if (bsERP.Contexto.EmpresaAberta) bsERP.FechaEmpresaTrabalho(); } -
Build & Deploy model
-
Go to application area, and create new instance of Primavera. The Connector value is the code defined earlier when the connector was created

-
List Suppliers. If prompted, select the Primavera instance and check that list is filled with ERP database Suppliers
-
Create a new Supplier, and check that it is integrated on ERP Primavera
-
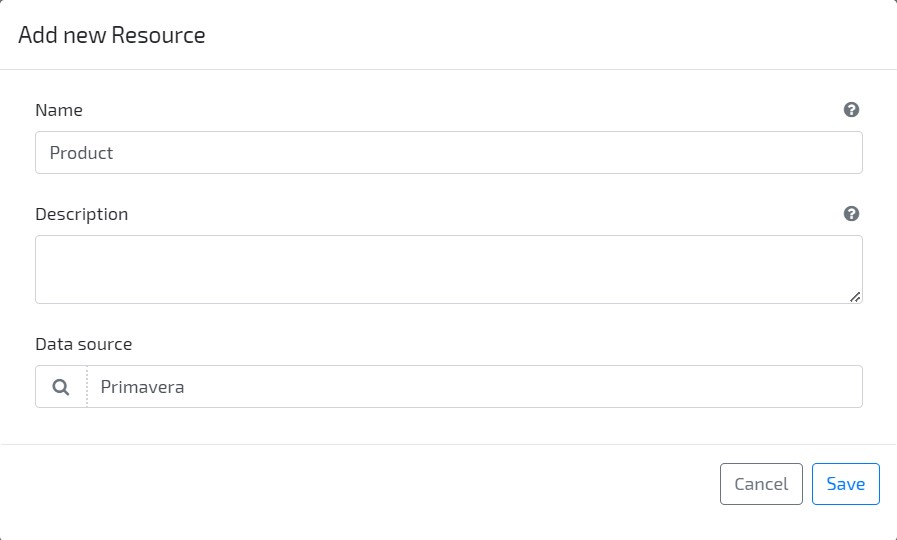
Go to modeling area. Create a new Resource with name “Product”, and set it as using the external data source “Primavera” that you created earlier.
-
On Resource “Product”, navigate to tab Behaviour Namespaces, and define a reference the following namespaces (define External as Execution Location):
- StdBE100
- ErpBS100
-
Navigate to tab “Data Behaviours“, and add a code expression to the “ReadList” behaviour. This behaviour will be used for Query and List requests for this entity.
Copy and paste the following code (Remember to change the
"username"and"password"fields to your actual username and password.):ErpBS bsERP = new ErpBS(); try { List<IDictionary<string, object>> productsList = new List<IDictionary<string, object>>(); string username = ""; string password = ""; bsERP.AbreEmpresaTrabalho(StdBETipos.EnumTipoPlataforma.tpEmpresarial, "DEMO", username, password); StdBELista queryResults = bsERP.Consulta($"SELECT Products.ProductsCount, Artigo, Descricao from Artigo CROSS JOIN (SELECT Count(*) AS ProductsCount FROM Artigo) AS Products ORDER BY Artigo ASC OFFSET {(page - 1)*pageSize} ROWS FETCH NEXT {pageSize} ROWS ONLY"); int numberOfRecords = Convert.ToInt32(queryResults.Valor("ProductsCount").ToString()); while (!queryResults.NoFim()) { var product = new Dictionary<string, object>() { { "_code", queryResults.Valor("Artigo").ToString()}, { "_name", queryResults.Valor("Descricao").ToString()} }; productsList.Add(product); queryResults.Seguinte(); } return (numberOfRecords, productsList); } catch (Exception e) { Console.WriteLine(e.Message); throw; } finally { if (bsERP.Contexto.EmpresaAberta) bsERP.FechaEmpresaTrabalho(); } -
Build & Deploy model
-
Go to application area, and check that ERP Products can now be listed on OMNIA
5. Modeling Purchase Order
-
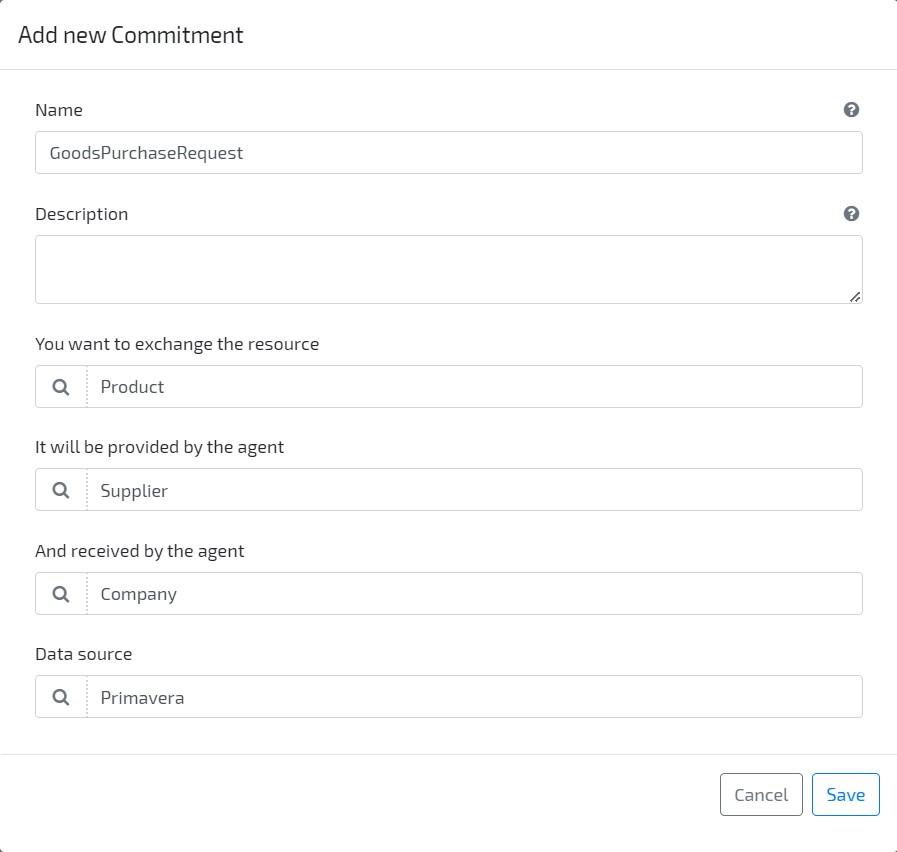
Go to modeling area and, through the left side menu, create a new Commitment by accessing the option Business / Commitments and clicking on right top side Add new button.
Set its Name as “GoodsPurchaseRequest”, “Product” as the resource to be exchanged, “Supplier” as provider agent and “Company” as receiver agent. Select “Primavera” as Data Source.
-
Edit the commitment “GoodsPurchaseRequest”, and create the following Reference attributes:
- Artist (Type: Generic entity, Artist)
- Primavera (Type: Data source, Primavera)
-
Create a new Primitive attribute with AlbumMBid as Name and Text as Type
-
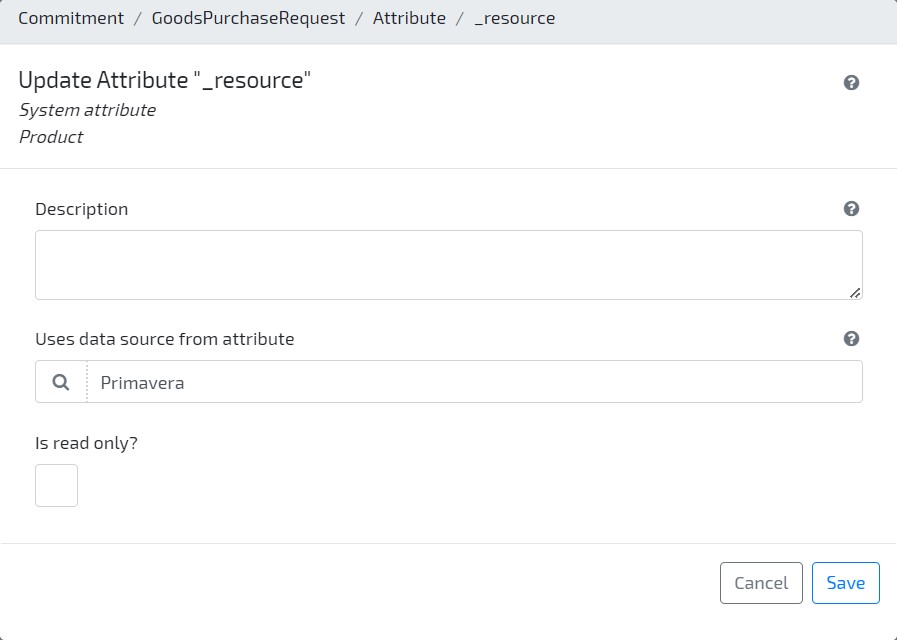
Still on commitment “GoodsPurchaseRequest”, edit attributes “_resource” and “_provider” and set attribute Primavera as the Data Source
-
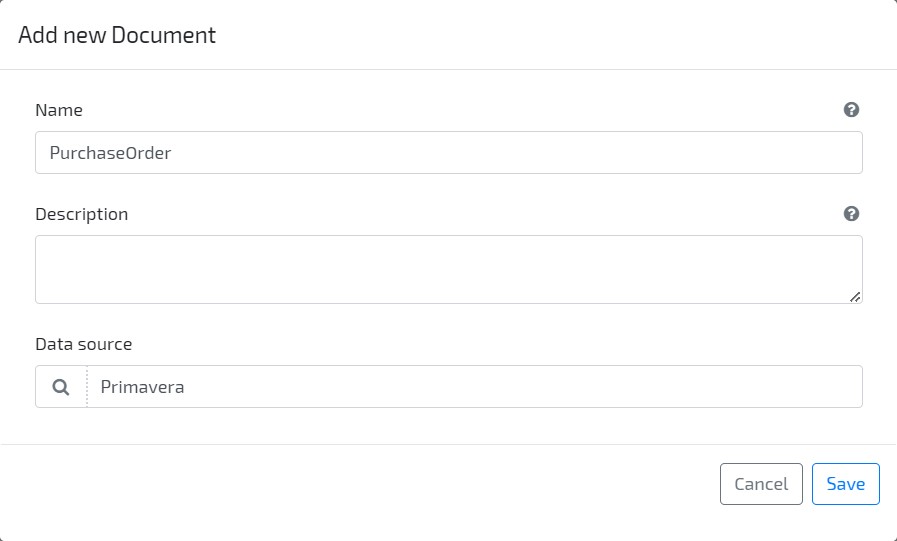
Through the left side menu, create a new Document by accessing the option Business / Documents. Set its Name as “PurchaseOrder”, and select “Primavera” as Data Source.
-
On Document “PurchaseOrder”, add the following Reference attributes:
- Primavera (Type: Data source, Primavera)
- Supplier (Type: Agent, Supplier. Uses attribute Primavera as data source)
-
Create a new Collection attribute with OrderLines as Name and Commitment / GoodsPurchaseRequest as Type
-
On Document “PurchaseOrder”, navigate to tab Behaviour Namespaces, and define a reference for the following namespaces (define External as Execution Location):
- StdBE100
- ErpBS100
- CmpBE100
-
Navigate to tab “Data Behaviours“, and set the code expression to be executed on “ReadList”. This behaviour will be used for Query and List requests for this entity.
Copy and paste the following code (Remember to change the
"username"and"password"fields to your actual username and password.):ErpBS bsERP = new ErpBS(); try { List<IDictionary<string, object>> ordersList = new List<IDictionary<string, object>>(); string username = ""; string password = ""; bsERP.AbreEmpresaTrabalho(StdBETipos.EnumTipoPlataforma.tpEmpresarial, "DEMO", username, password); StdBELista queryResults = bsERP.Consulta($"SELECT Orders.OrderCount, Serie, TipoDoc, NumDoc, Entidade, CONVERT (NVARCHAR(10), DataDoc, 120) AS DataDoc from CabecCompras CROSS JOIN (SELECT Count(*) AS OrderCount FROM CabecCompras where TipoDoc = 'ECF') AS Orders where TipoDoc = 'ECF' ORDER BY DataDoc DESC OFFSET {(page - 1)*pageSize} ROWS FETCH NEXT {pageSize} ROWS ONLY"); int numberOfRecords = Convert.ToInt32(queryResults.Valor("OrderCount").ToString()); while (!queryResults.NoFim()) { var order = new Dictionary<string, object>() { { "_code", queryResults.Valor("Serie").ToString()+"/"+queryResults.Valor("NumDoc").ToString()}, { "_serie", queryResults.Valor("Serie").ToString()}, { "_number", queryResults.Valor("NumDoc").ToString()}, { "_date", queryResults.Valor("DataDoc").ToString()} }; ordersList.Add(order); queryResults.Seguinte(); } return (numberOfRecords, ordersList); } catch (Exception e) { Console.WriteLine(e.Message); throw; } finally { if (bsERP.Contexto.EmpresaAberta) bsERP.FechaEmpresaTrabalho(); } -
Still on tab “Data Behaviours“, set the code expression to be executed on “Create”. This behaviour will be used to create new instances on ERP everytime a new PurchaseOrder is created on Omnia.
Copy and paste the following code (Remember to change the
"username"and"password"fields to your actual username and password.):ErpBS bsERP = new ErpBS(); try { string username = ""; string password = ""; bsERP.AbreEmpresaTrabalho(StdBETipos.EnumTipoPlataforma.tpEmpresarial, "DEMO", username, password); CmpBEDocumentoCompra purchaseOrder = new CmpBEDocumentoCompra { Tipodoc = "ECF", Serie = "A", TipoEntidade = "F", Entidade = dto.Supplier, NumDocExterno = "0", Observacoes = $"Documento gerado no portal OMNIA: Pedido de Encomenda {dto._serie} / {dto._number}", DataHoraCarga = DateTime.Now, DataHoraDescarga = DateTime.Now }; bsERP.Compras.Documentos.PreencheDadosRelacionados(purchaseOrder); foreach (var line in dto.OrderLines) { double quantity = Convert.ToDouble(line._quantity); bsERP.Compras.Documentos.AdicionaLinha(purchaseOrder, line._resource, ref quantity); } bsERP.Compras.Documentos.Actualiza(purchaseOrder); return dto; } catch (Exception e) { Console.WriteLine(e.Message); throw; } finally { if (bsERP.Contexto.EmpresaAberta) bsERP.FechaEmpresaTrabalho(); } -
Build & Deploy model
-
Go to the Application area, and validate that ERP Purchase Orders can now be listed.
-
On Modeling area, navigate to “PurchaseOrder” tab “Entity Behaviours“, and define a behaviour to be executed “Before Collection Entity is Initialized”. This behaviour will be used to set default values on Commitment instances.
Set OrderLines as collection, and then copy and paste the following code:
entry._provider = Supplier; entry._receiver = "AnalogSound"; entry.Primavera = Primavera; -
Edit the “PurchaseOrderForm” to reorganize the user interface, with the following inputs:
- On document header, remove Code attribute and reorganize remaining attributes
- On OrderLines attributes, hide attributes Provider, Receiver, Code and Primavera
A possible final result is the following:

-
Build & Deploy model
-
Go to application area. Access the option Series / Purchase Order Serie / Add new, and create a new number serie for document PurchaseOrder
-
Access the option Documents / PurchaseOrder / Add new, and create a new Purchase Order. After saving, the Order should be integrated on ERP Primavera
5. Communicate with an external API
-
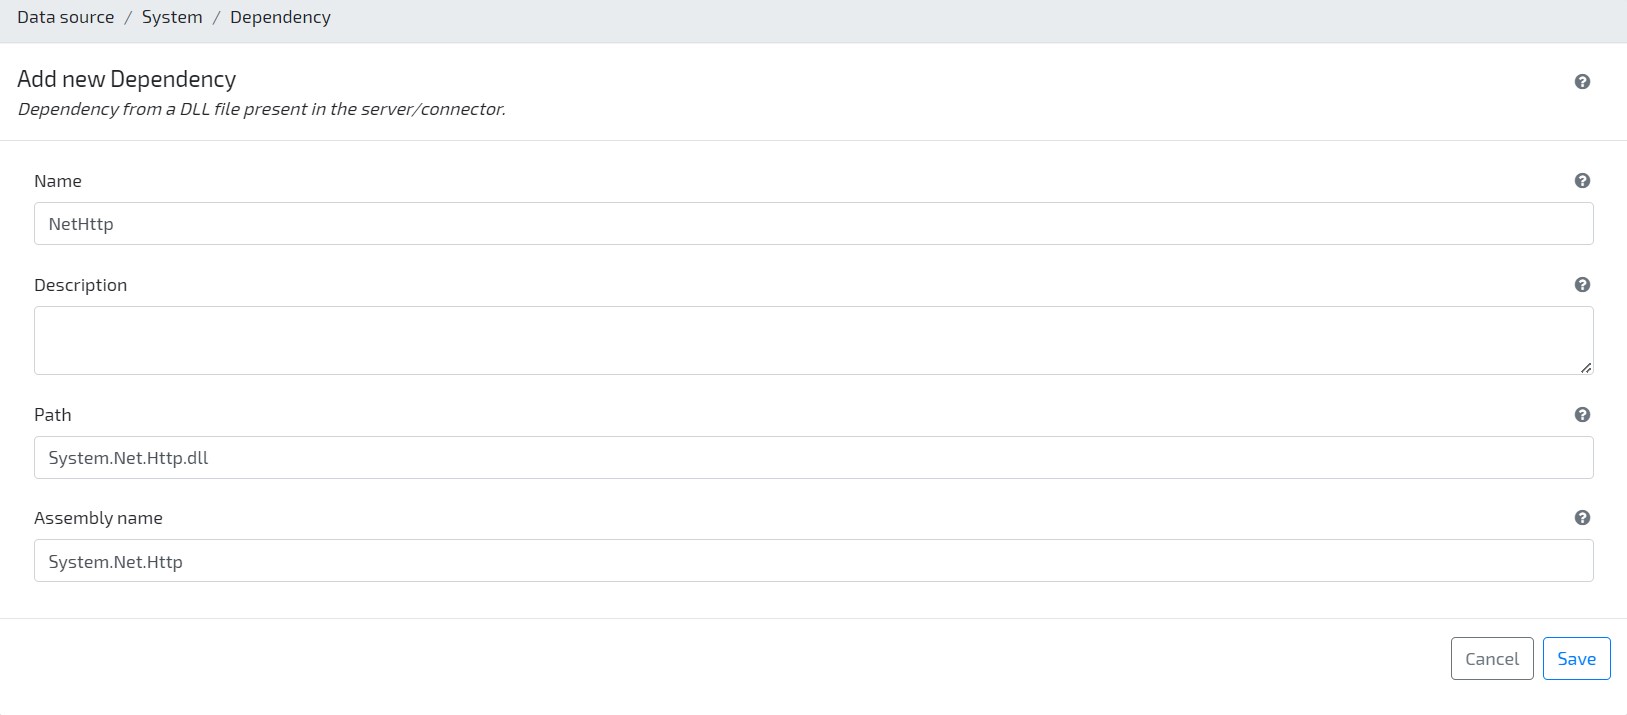
Go to the Modeler and click on option Business / Data sources / System to add references to this data source. Click on button Add new to add a new Behaviour Dependency for .NET assembly System.Net.Http. Set Execution Location as Internal.
-
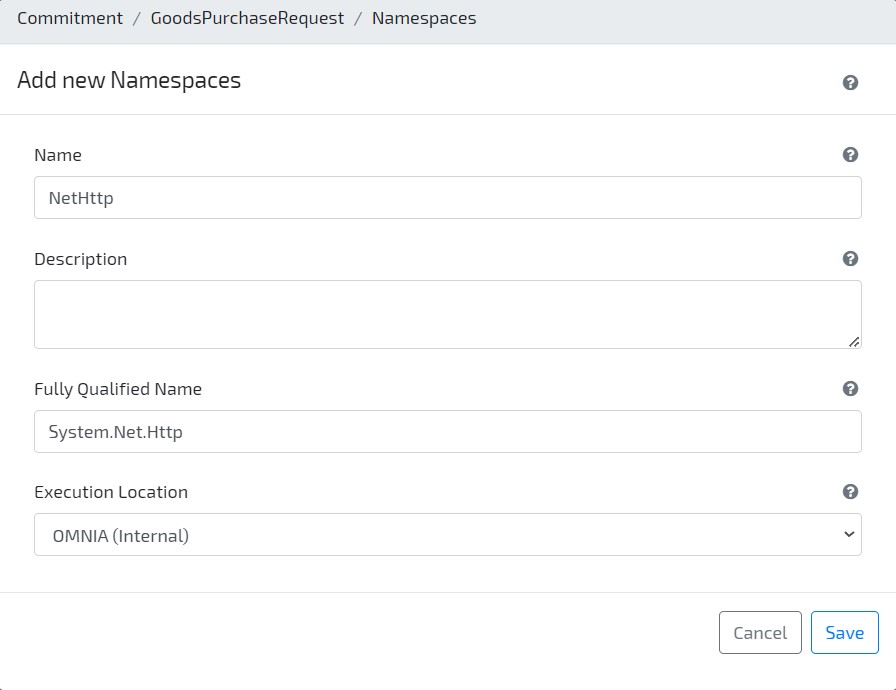
On Commitment “GoodsPurchaseRequest”, navigate to tab Behaviour Namespaces, and define a reference to namespace System.Net.Http
-
Navigate to tab “Entity Behaviours“, and define an “Action” behaviour to be executed when attribute _resource is changed. This behaviour will be used to retrieve from LastFM API a unique album identifier.
Copy and paste the following code (Remember to change the
"API_KEY"field to your actual LastFM API Key.):if (!string.IsNullOrEmpty(newValue) && !string.IsNullOrEmpty(this.Artist)) { var client = new HttpClient(); string apiEndpoint = $"http://ws.audioscrobbler.com/2.0/?method=album.getinfo&api_key=API_KEY&artist={this.Artist}&album={newValue}&format=json"; var requestResult = client.GetAsync(apiEndpoint).GetAwaiter().GetResult(); string responseBody = requestResult.Content.ReadAsStringAsync().GetAwaiter().GetResult(); if (!requestResult.IsSuccessStatusCode) throw new Exception($"Error on retrieving album: {responseBody}"); var response = JsonConvert.DeserializeObject<Dictionary<string, object>>(responseBody); var albumData = JsonConvert.DeserializeObject<Dictionary<string, object>>(response["album"].ToString()); this.AlbumMBid = albumData["mbid"].ToString(); } -
Build & Deploy model
-
Go to application area, and create a new Purchase Order. Check that, when Artist and Resource are identified and valid, attribute Album MBid is filled with the album unique identifier