1. Introduction
Now that you have completed the Beginner Tutorial, whose result is a functional order management application, this State Machines Tutorial will focus on the addition of Document states to our application’s Purchase Order Document.
In this example, we’ll create a state machine for our document with four states: “Initial”, “Review”, “Approved” and “Denied”. When a user submits a document it will adopt the “Review” state. If accepted, the document will move to the “Approved” state, if rejected, it will move to the “Rejected” state.
To know more about how State Machines work, see our State Machine page.
2. Prerequisites
This tutorial assumes that you have created a OMNIA tenant, and are logged in as a user with modeling privileges to this tenant.
It is necessary to have completed the steps in the Beginner tutorial, as this tutorial builds upon it.
3. State Machine
-
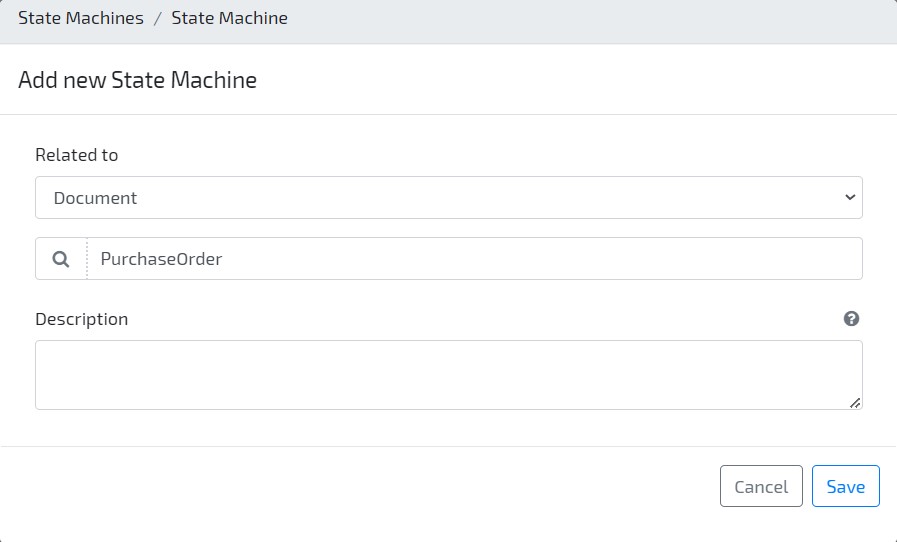
Go to the modeling area and access the option Business / State Machines / Add New
1.1. Click on the “Related to” field and select the option Document / Purchase Order
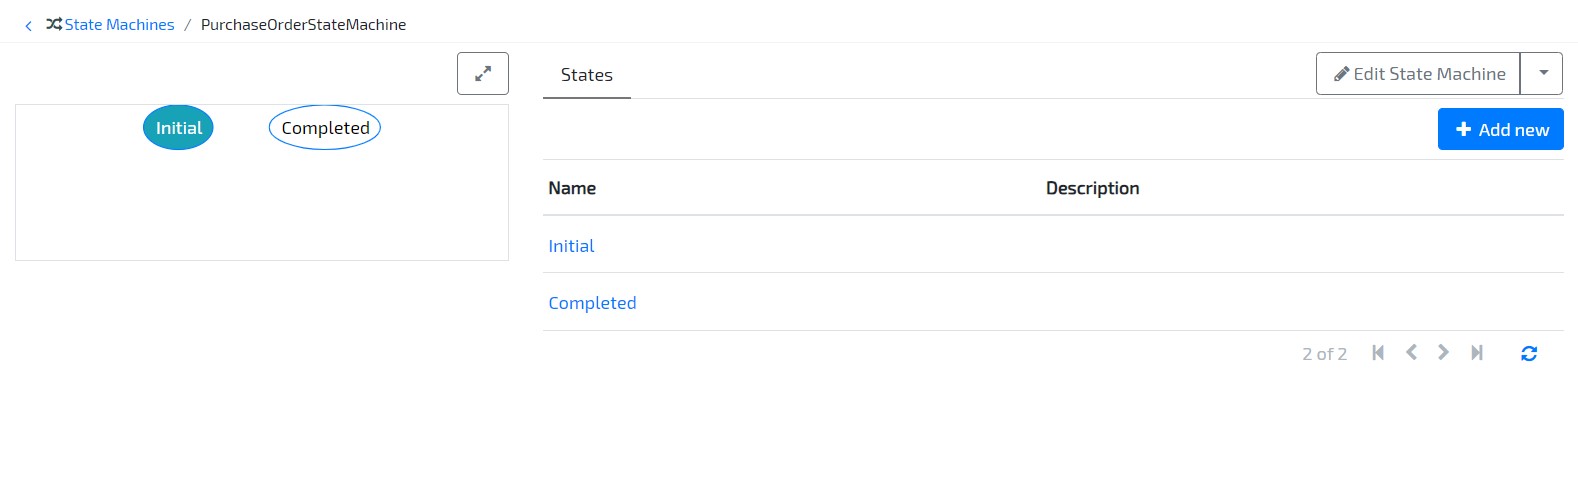
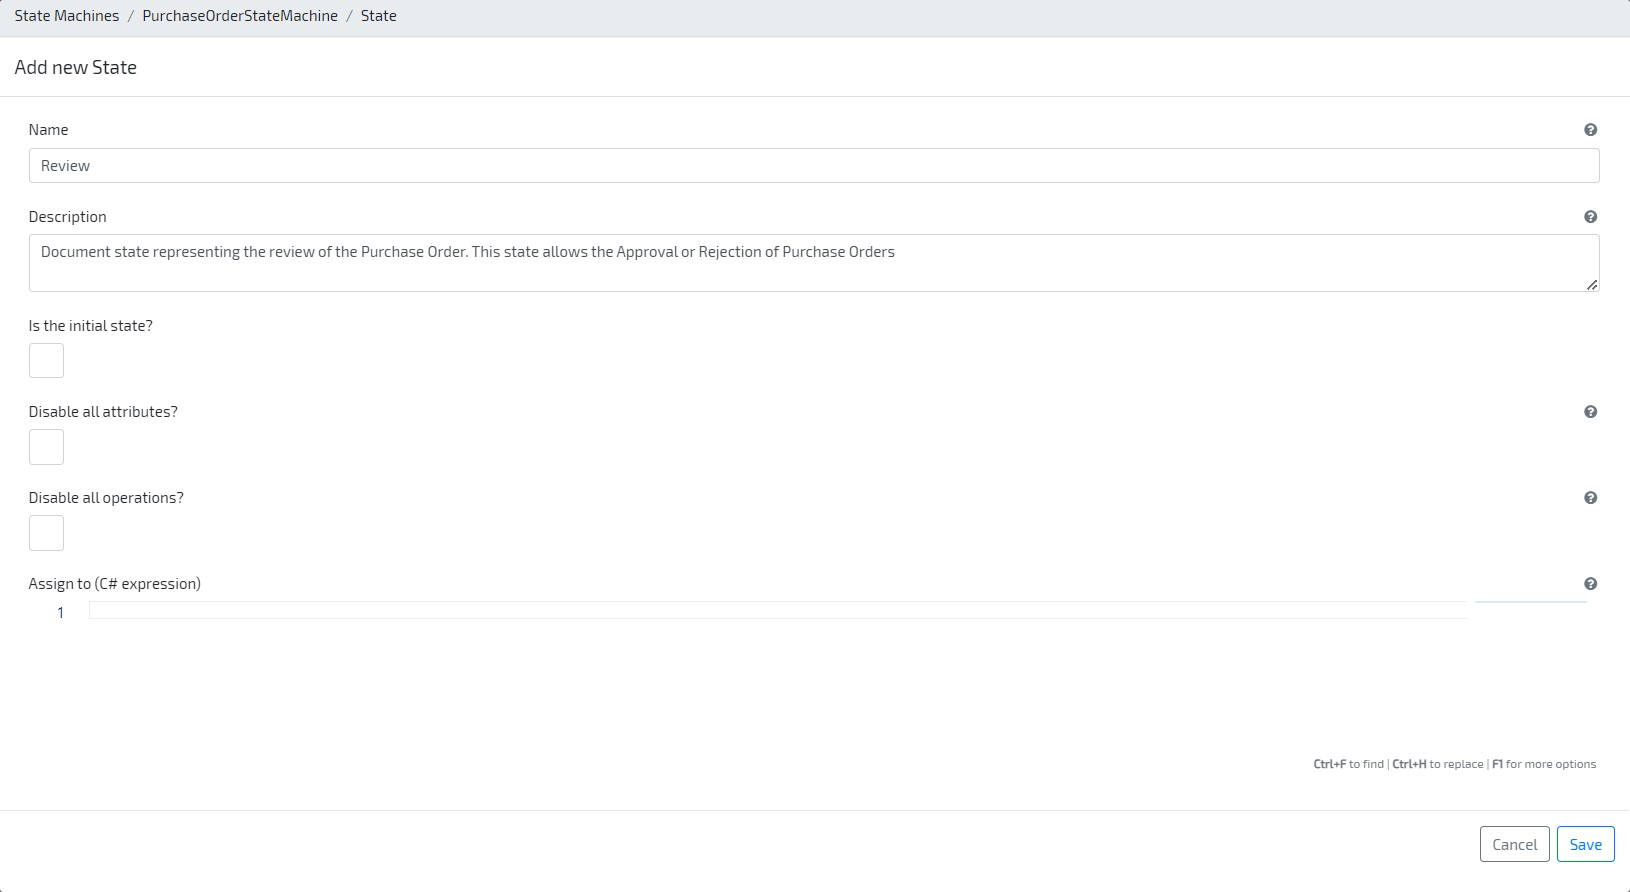
1.2. Open the new “PurchaseOrderStateMachine” by clicking on it and use the “Add New” button to add the new “Review” state
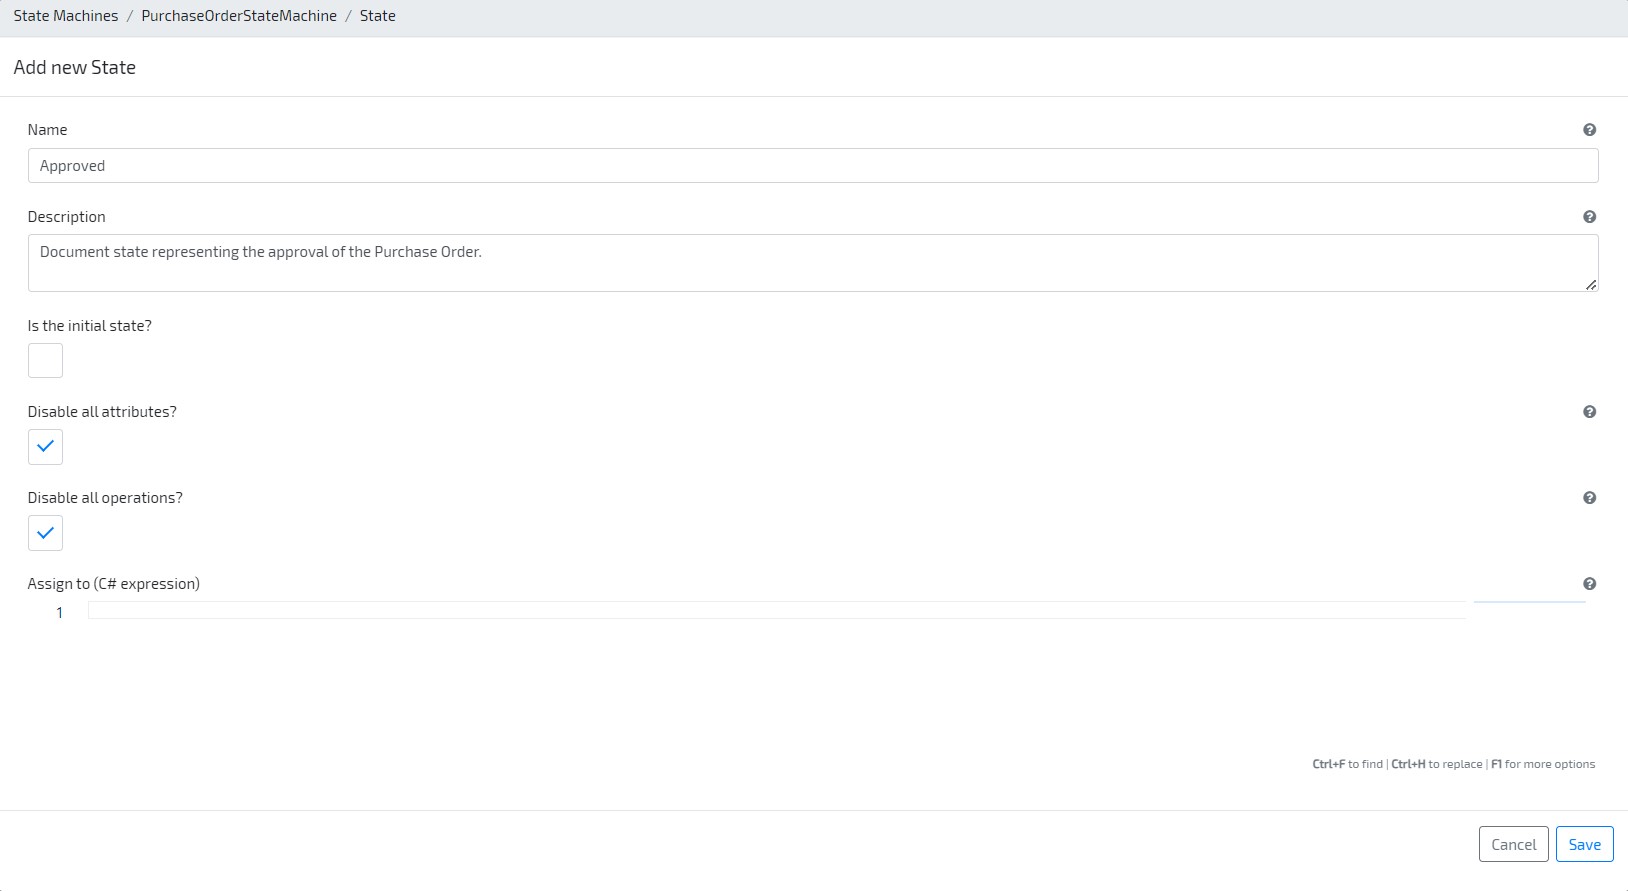
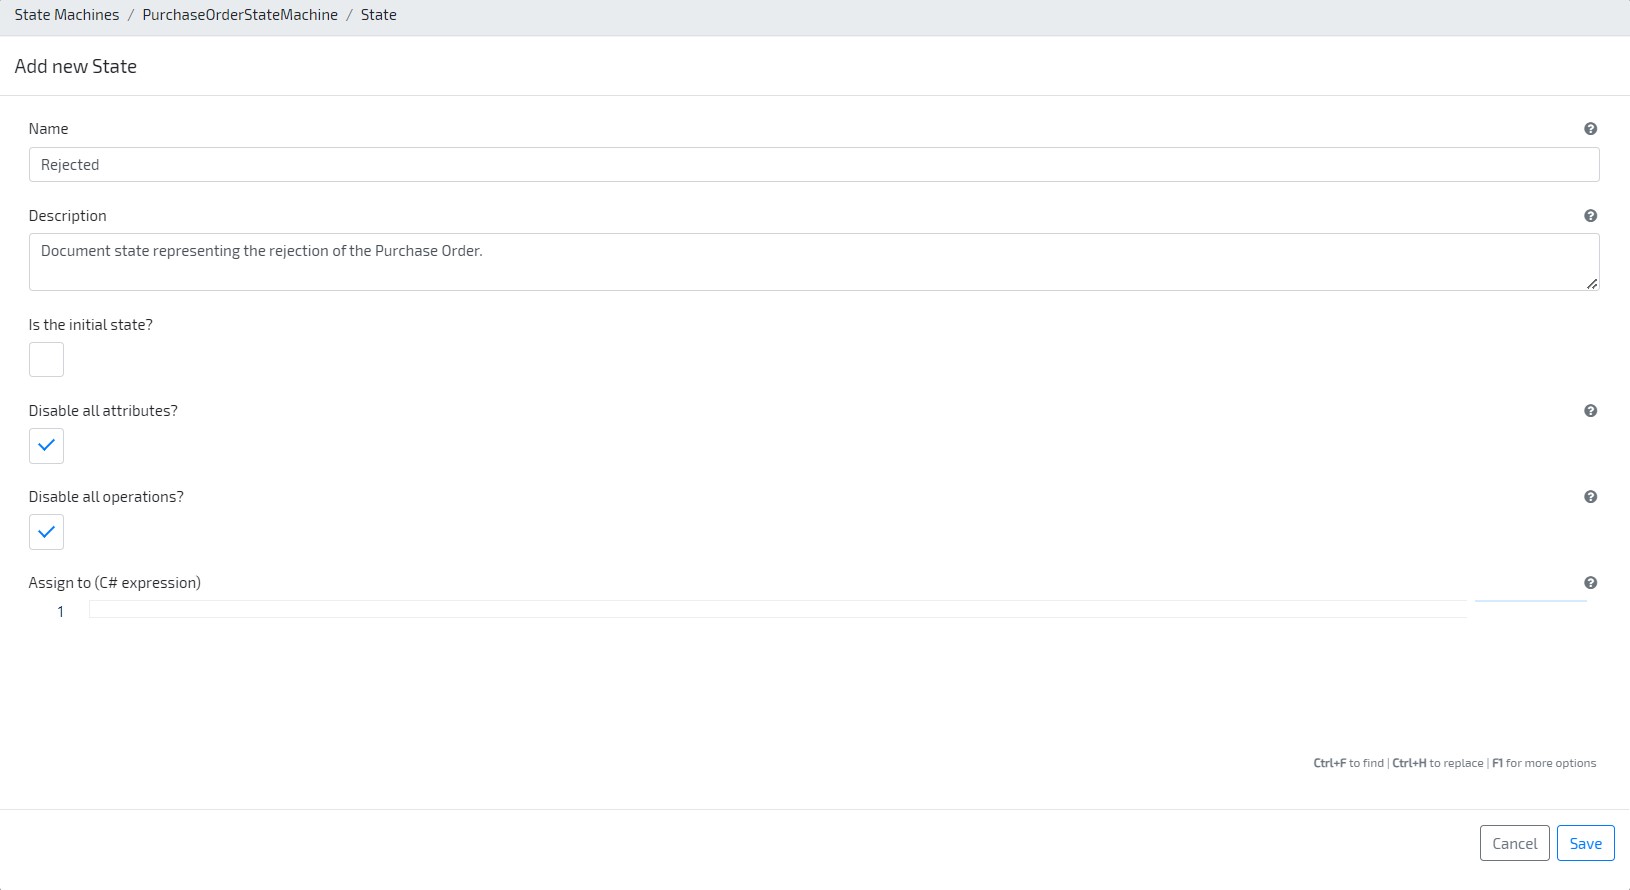
1.3 Repeat the process to create the “Approved” and “Rejected” states, but in these states activate the options “Disable all attributes” and “Disable all operations”:
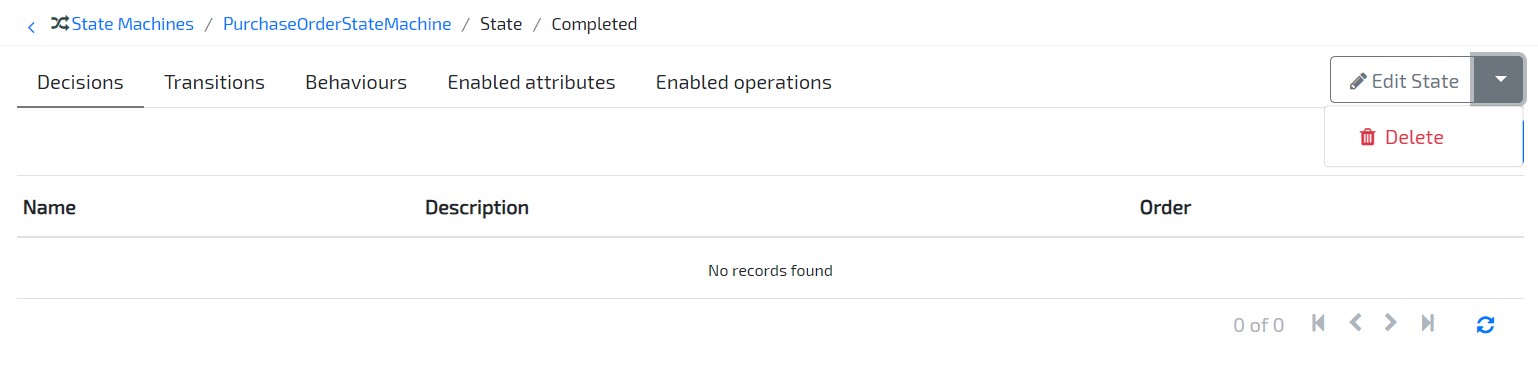
1.4 Let’s remove the “Completed” state, since we’re not going to use it, by simply accessing it and using the “Delete” option:
1.5 Now let’s add the decisions that will trigger our document’s state transitions:
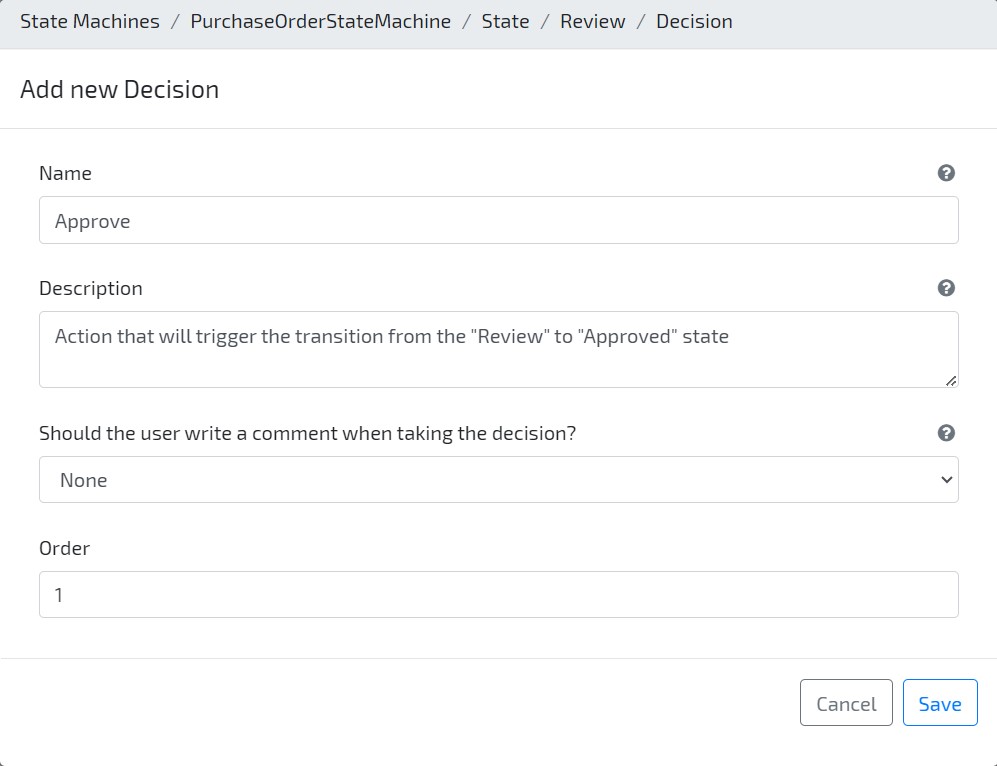
1.5.1 Open the “Review” state (it will open on the “Decisions” tab by default), click on “Add New”, fill its name as “Approve” and save it.
1.5.2 Add another decision to the “Review” state, but this time name it “Reject” and make the decision commentary required:

1.6 Now let’s finalize our state machine by adding Transitions:
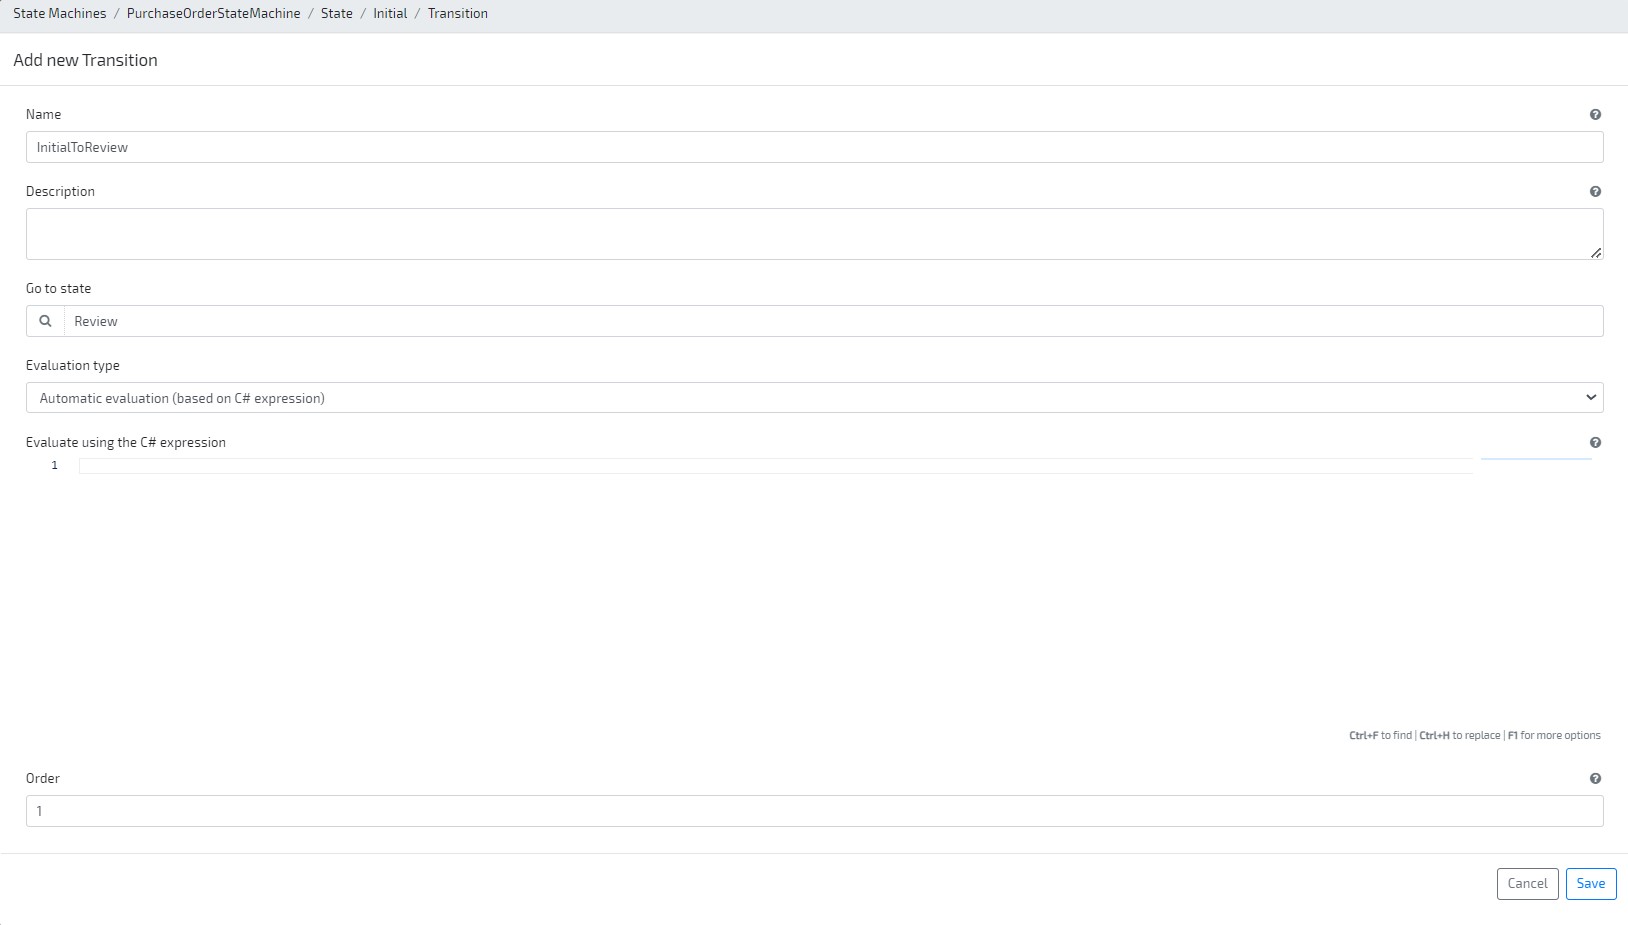
1.6.1 Go back to your state machine, open the “Initial” state, go to the tab “Transitions” and “Add New”:
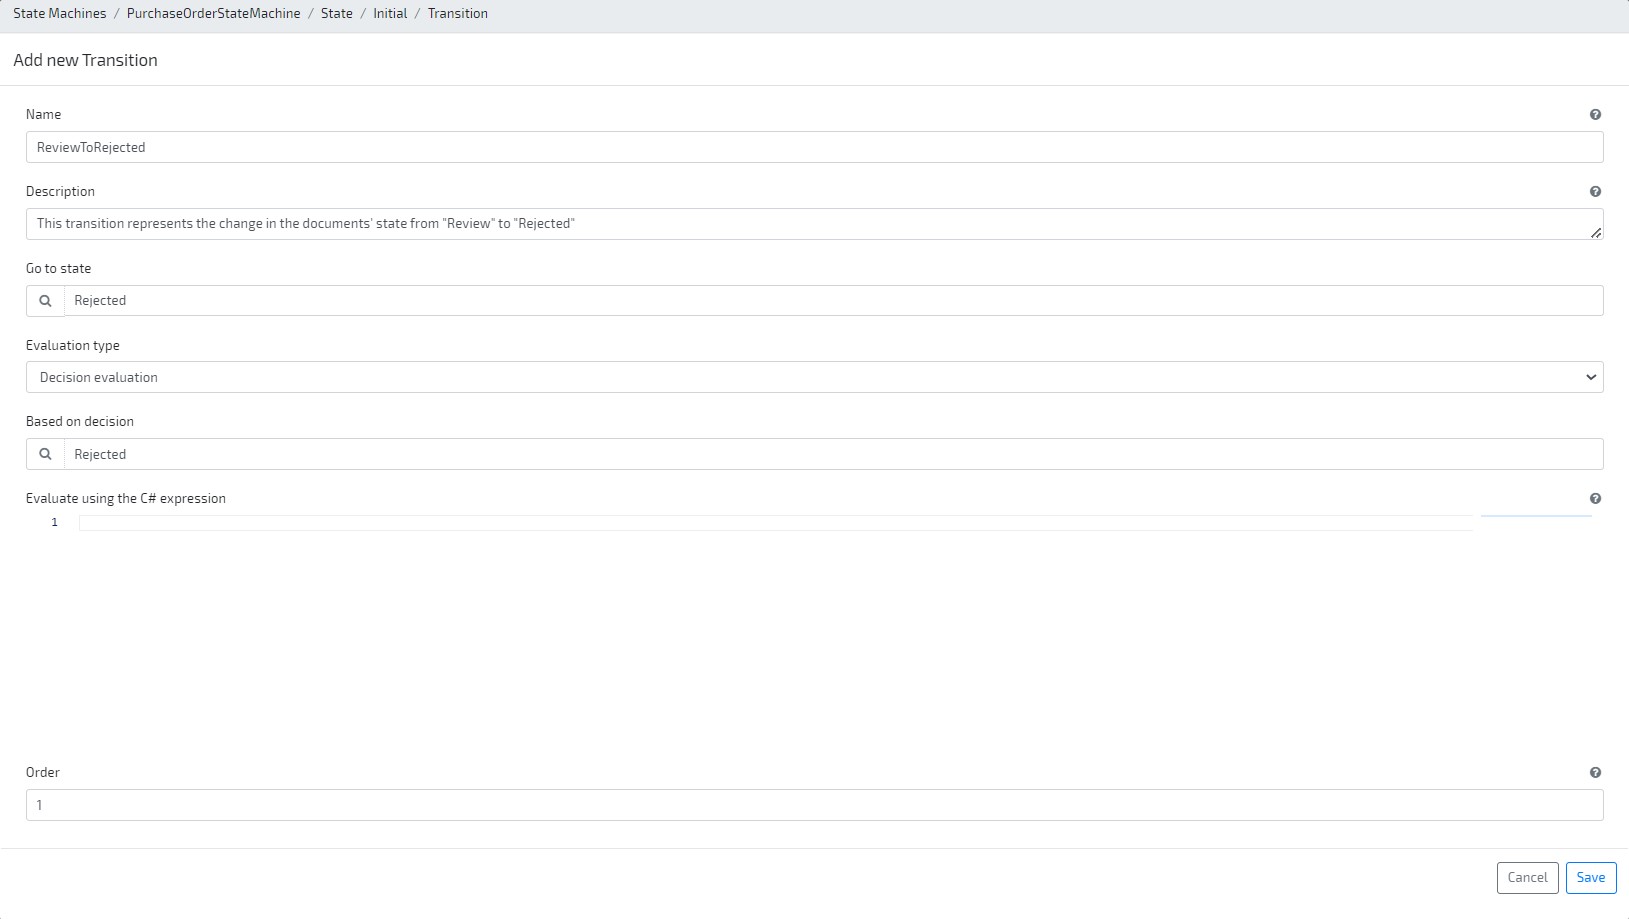
1.6.2 Now go to the “Review” state, access the “Transitions” tab and let’s add two new transitions:
- ReviewToApproved

- ReviewToRejected
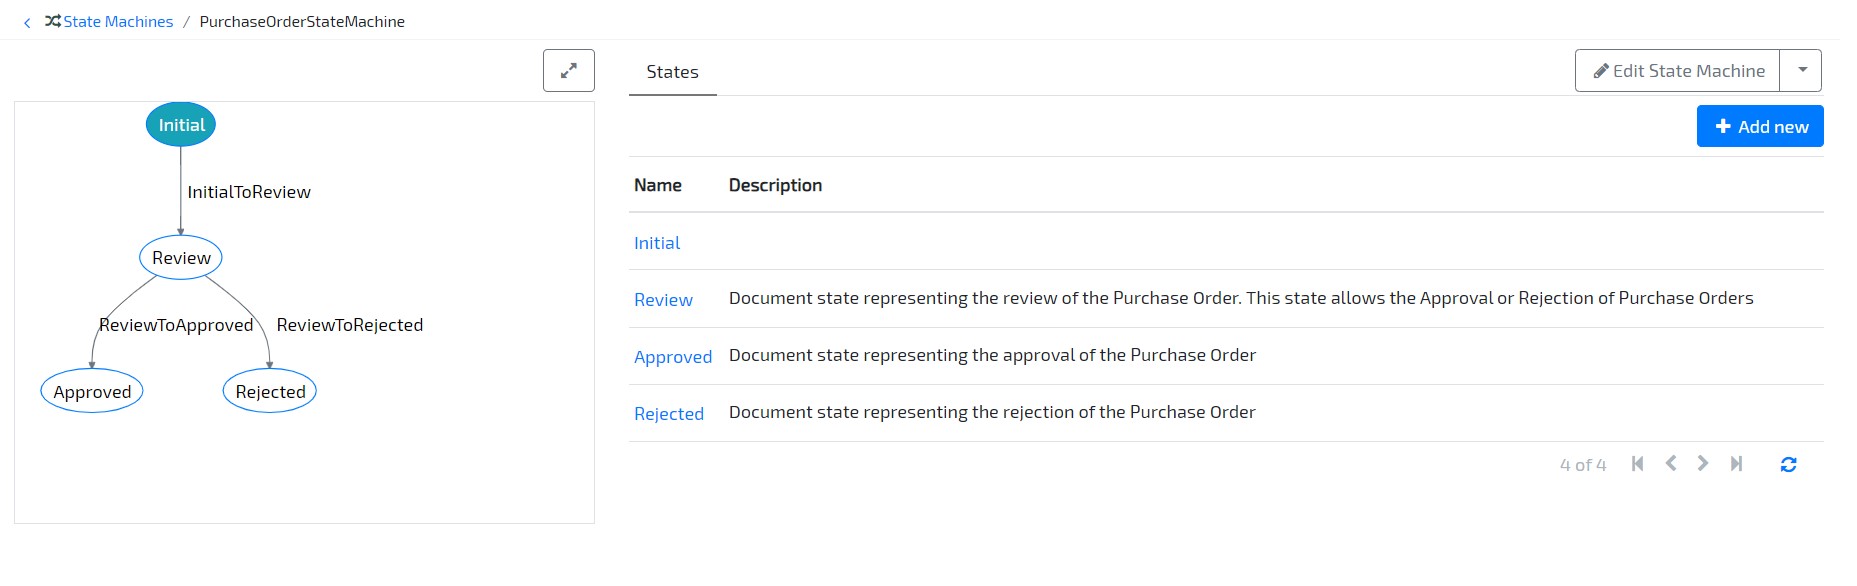
This is what your State Machine should look like:
1.7 Build and Deploy your model and visit your application
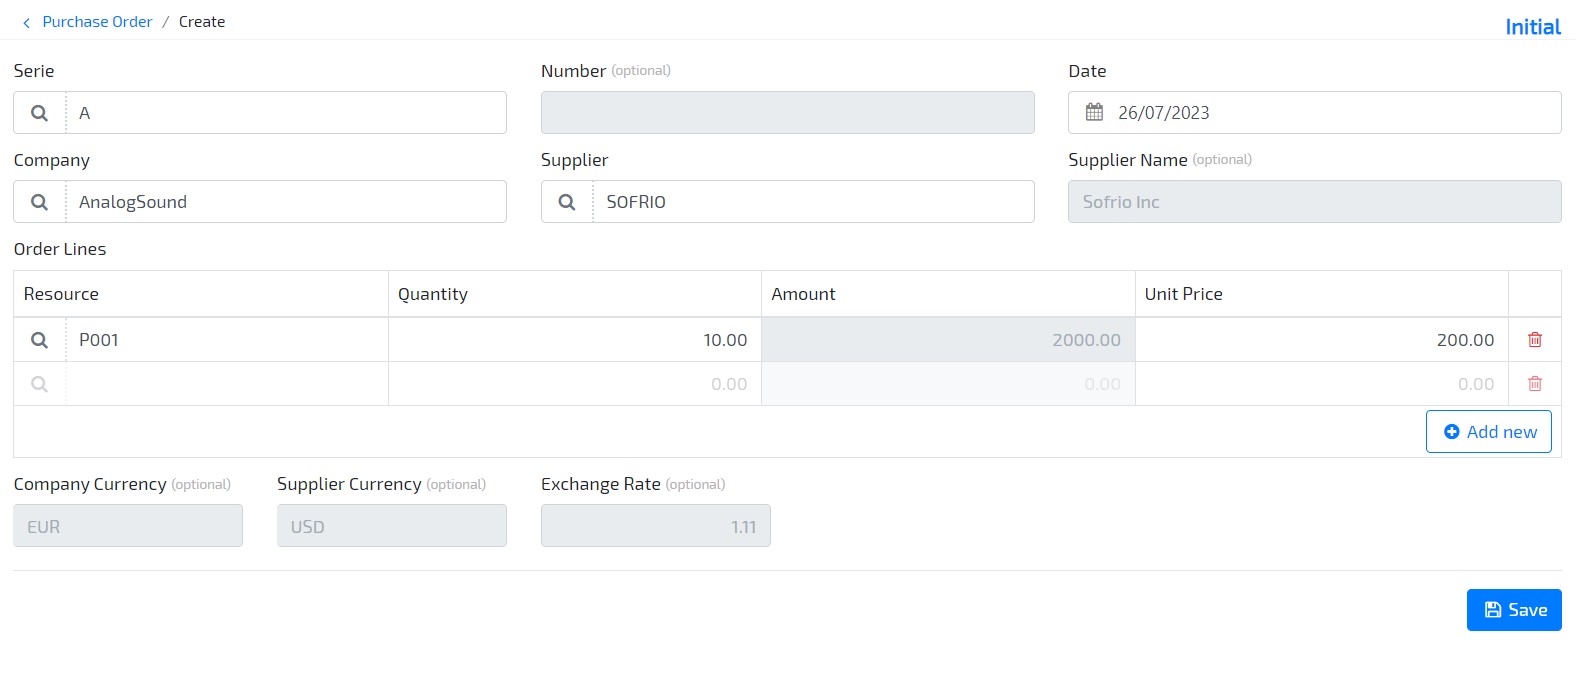
1.7.1 Create a new Purchase Order Document and submit it
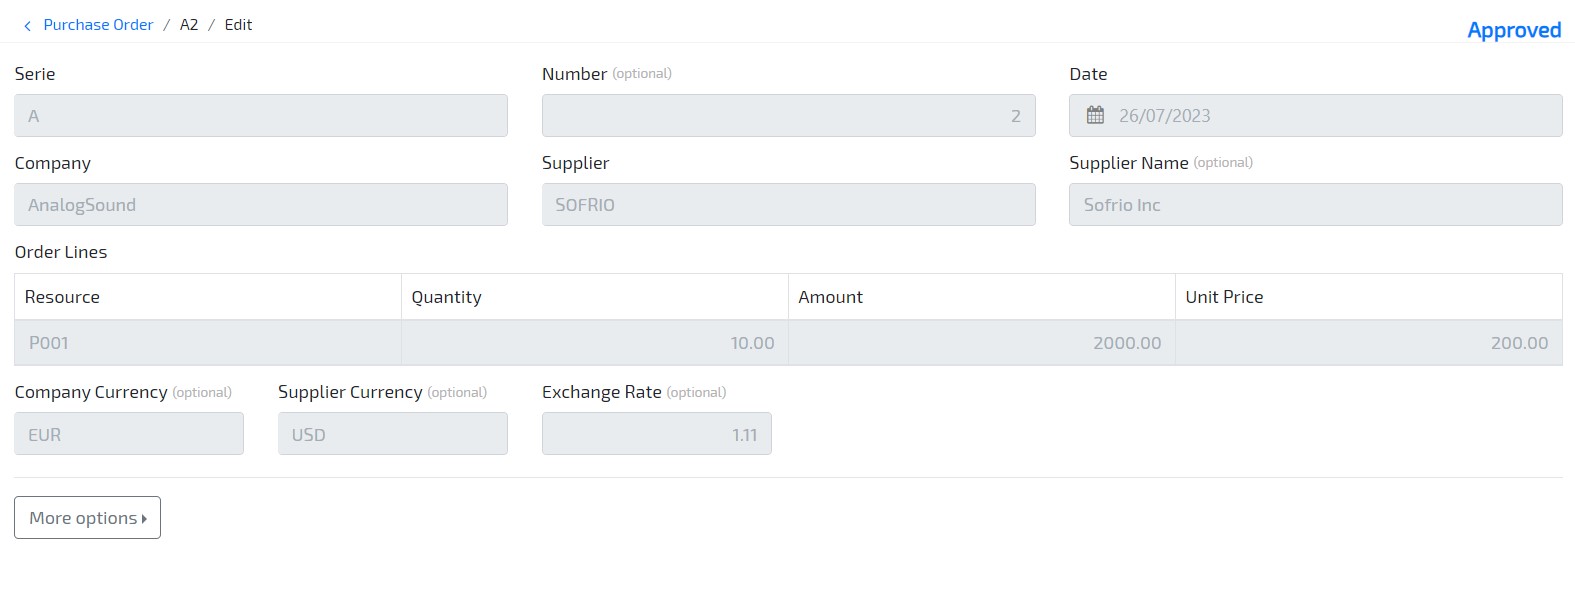
1.7.2 Now open that same document and approve it.
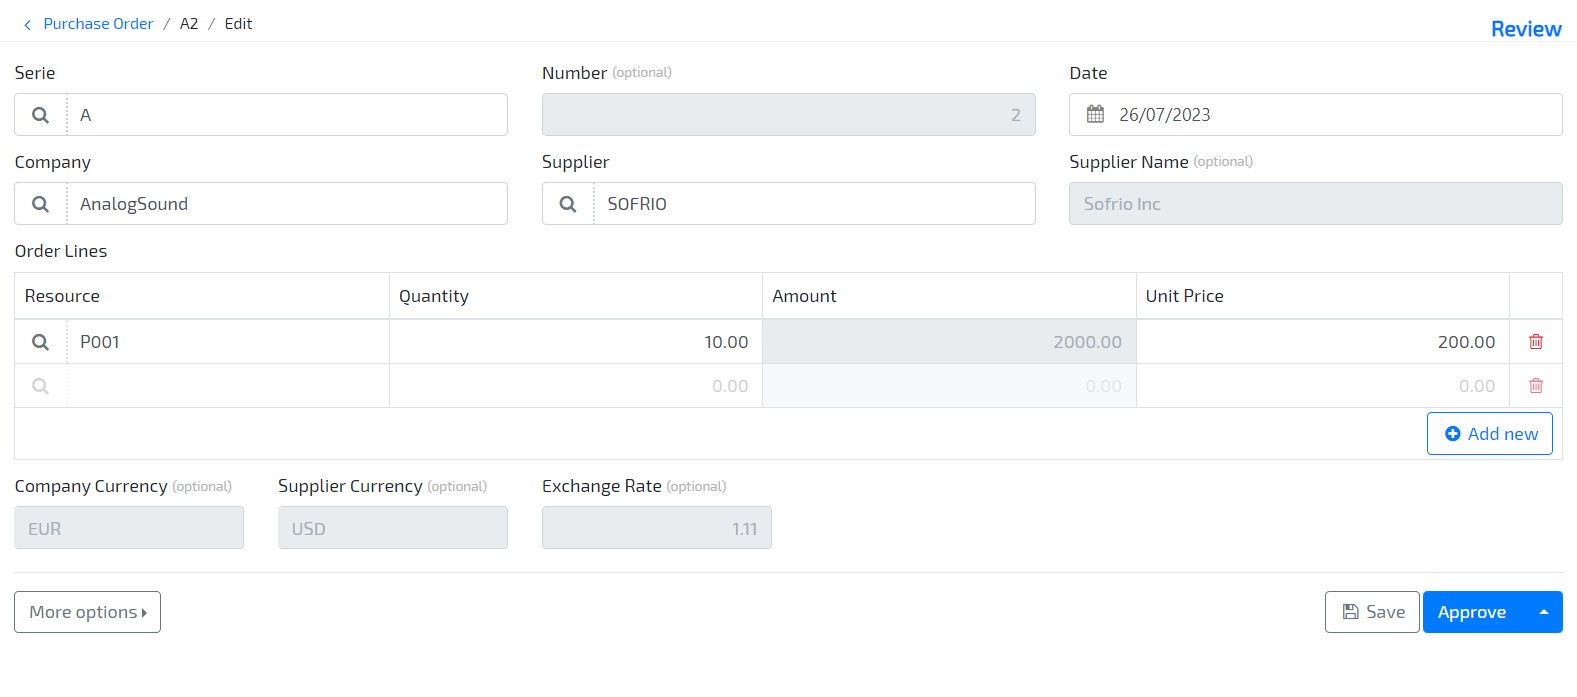
This should be the look of your approved document:
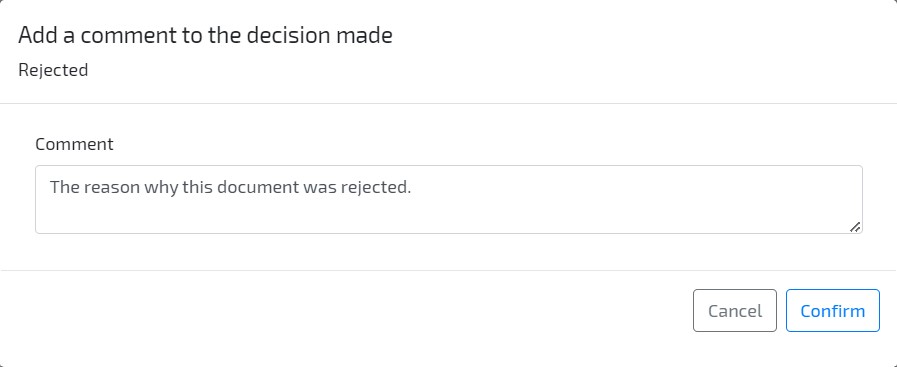
1.7.3 Let’s create another document, but this time reject it, instead of accepting it, and add the rejection commentary:
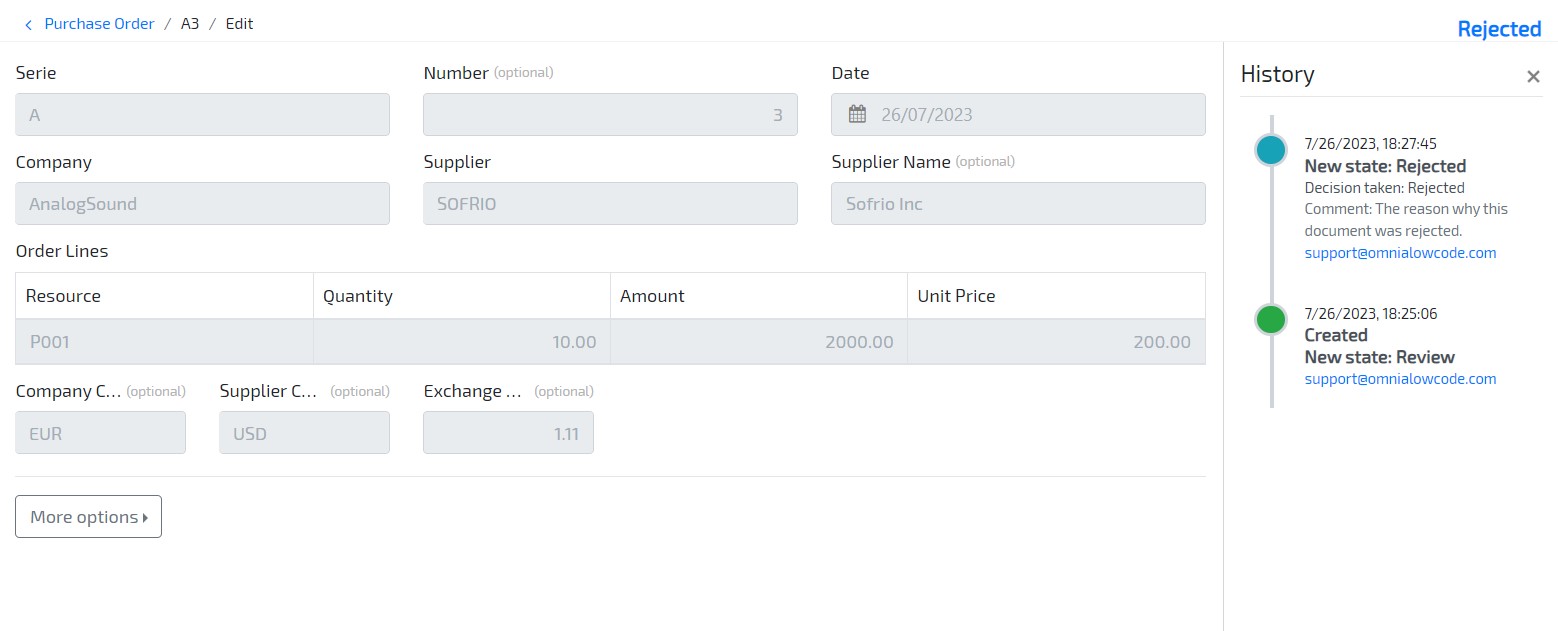
1.7.4 Now open the rejected document and use the option “More Options” > “Show History”. You should now see the commentary that rejected the document.
- ReviewToApproved
That’s it, we’ve just created a new State Machine and added it to our Purchase Order Management.